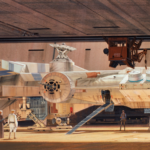

Sebastian Shaw / Magneto Helmet Build (Part 1: How to Pepakura)
When I started this, I was a die hard throw clay on a bust and sculpt your way to an awesome piece. Since it was always someone else’s dime doing a waste mold (molding and casting a piece to get to a stage where you can refine it) was par for the course. People were doing pepakura as a final product, so it was time to try something new.
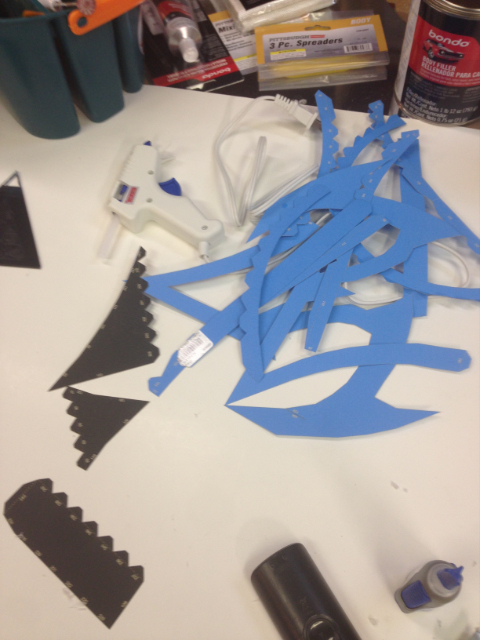
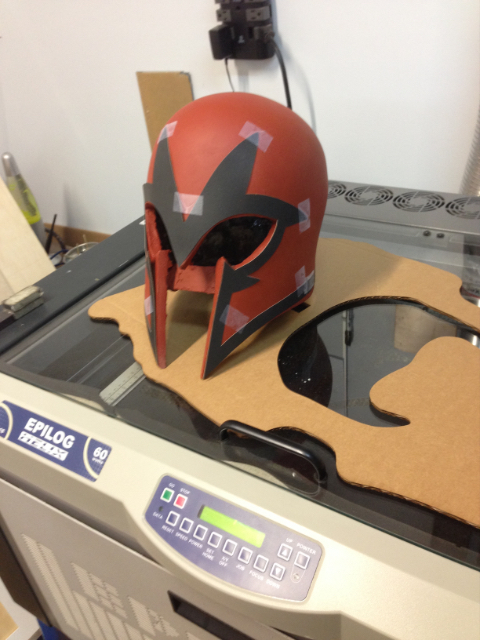
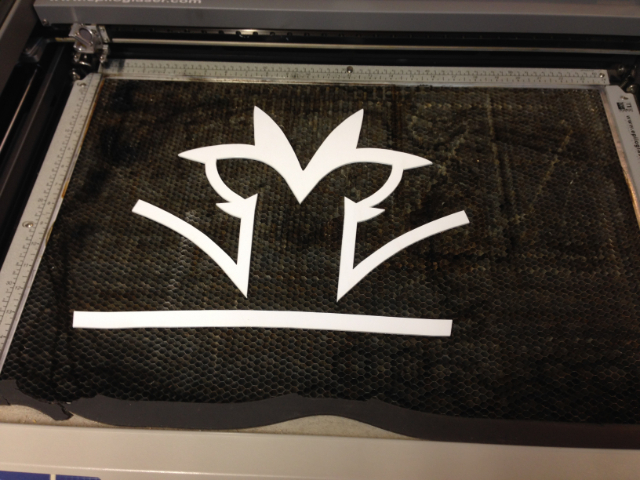
I took a short cut by using a laser. You can see how I did it here in this How To post here.
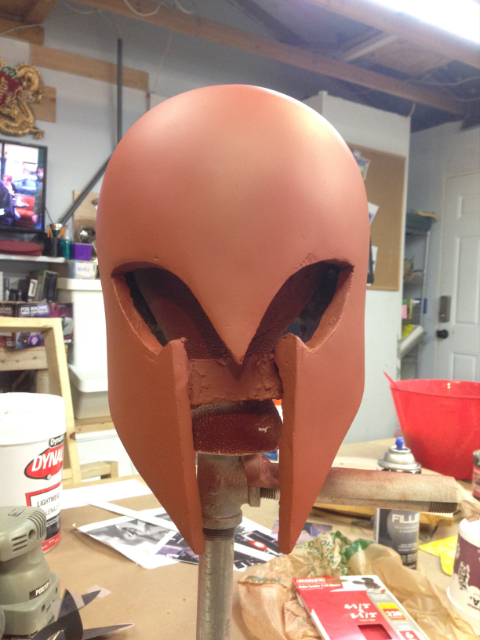
Stage One: You glue the cardboard together, laminate and fiberglass it for strength.

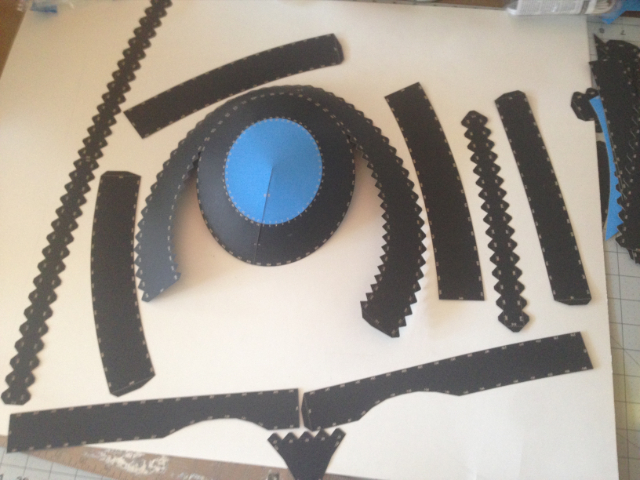
The best way to put attach the puzzle pieces is with a hot glue gun with a low temp setting. You don’t really burn your hands but you still have a moment to work a piece into place.
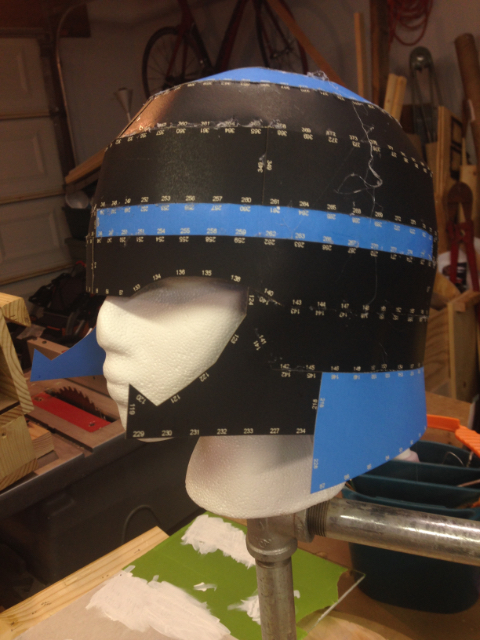
Somewhere along the way, I introduced a defect that would end up plaguing the project until the end. It seems innocuous and easily corrected along the way, but I had to re brace every single step until the final mold. If I were to go back in time I’d probably redo this stage until it was right.
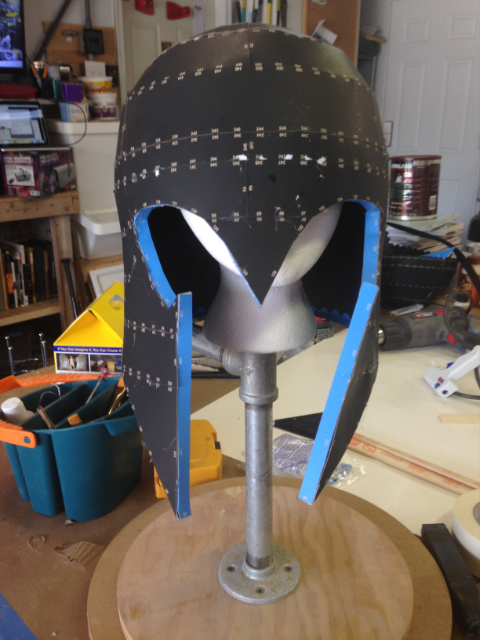
A couple of cardboard pieces and some hot glue and we were ready to epoxy coat and fiberglass.
Lots of builders use polyester resin but it’s pretty toxic stuff. It will stink up your shop for weeks.
So I used Epoxamite 101 from Smooth On which is a less toxic option that will get you great results. You still have to work in an open area with proper respirator equipment but it doesn’t linger and piss off your neighbors.
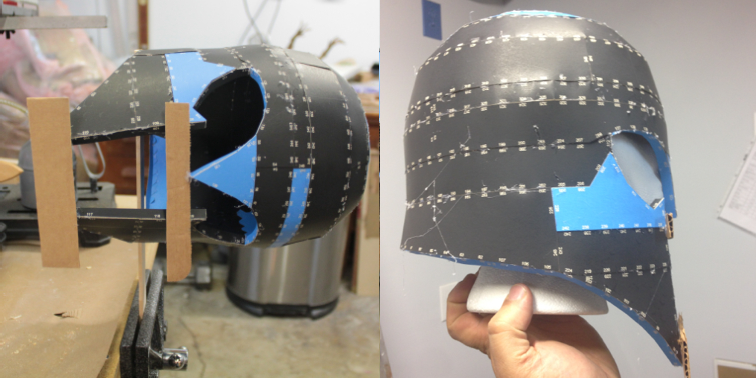
First you coat the cardboard shell to laminate (make it hard with epoxy) it.
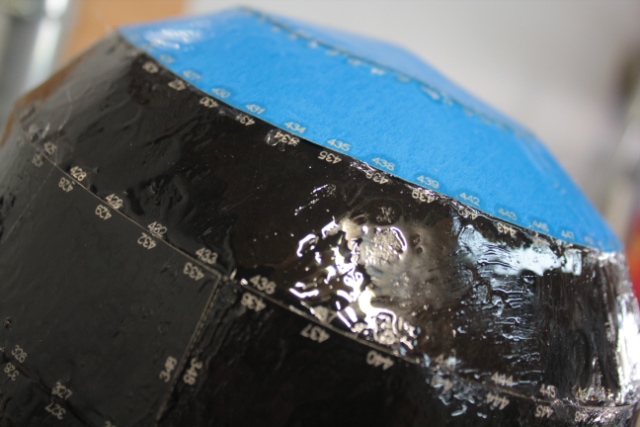
Then you use the Epoxamite to fiberglass the interior for strength.
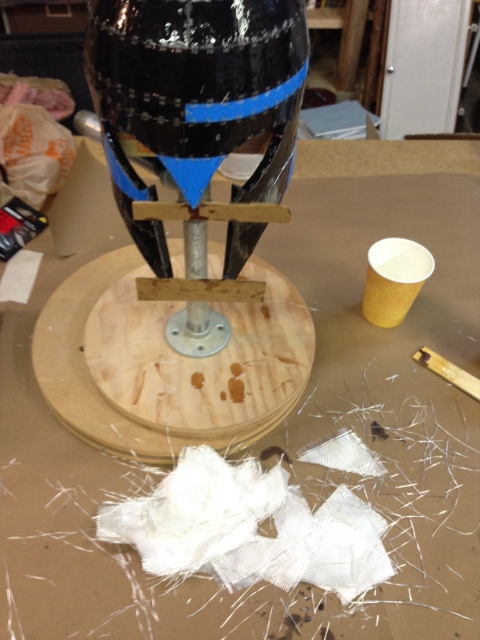

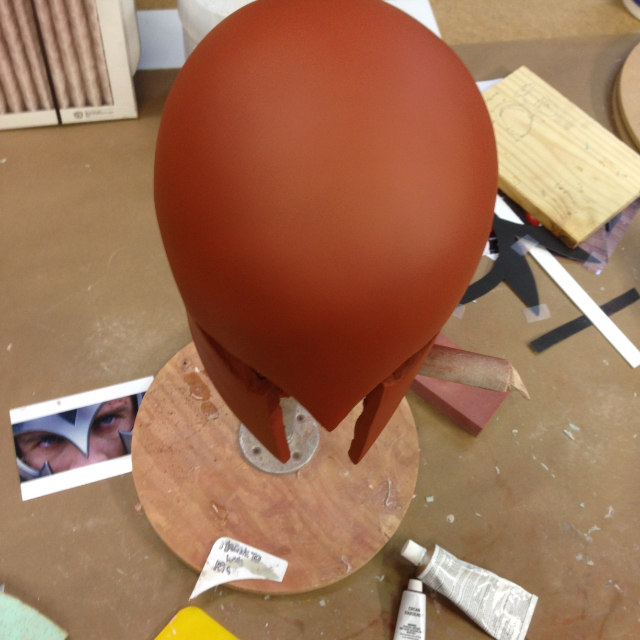
Popped the bracing off with a heat gun.

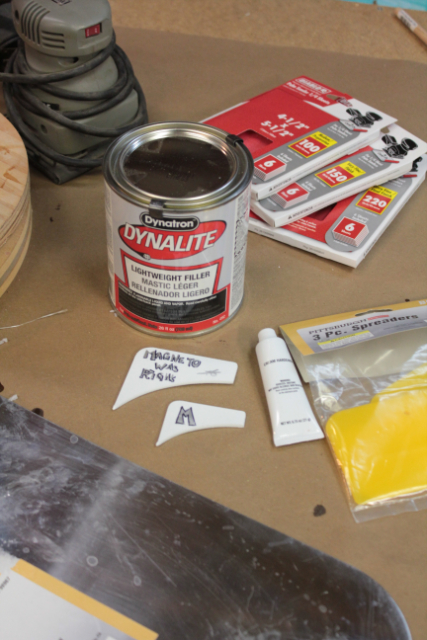
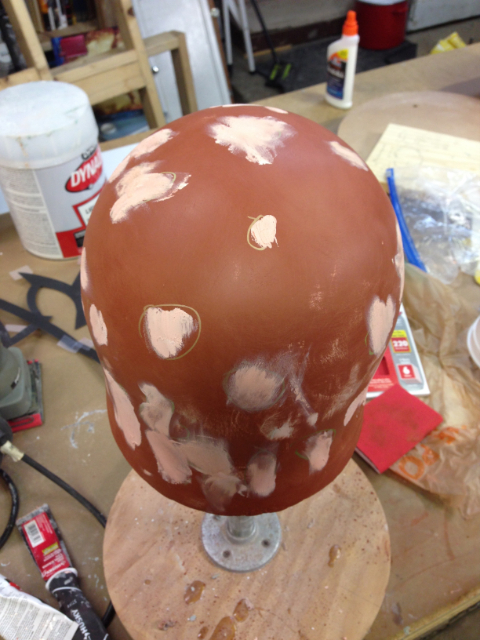
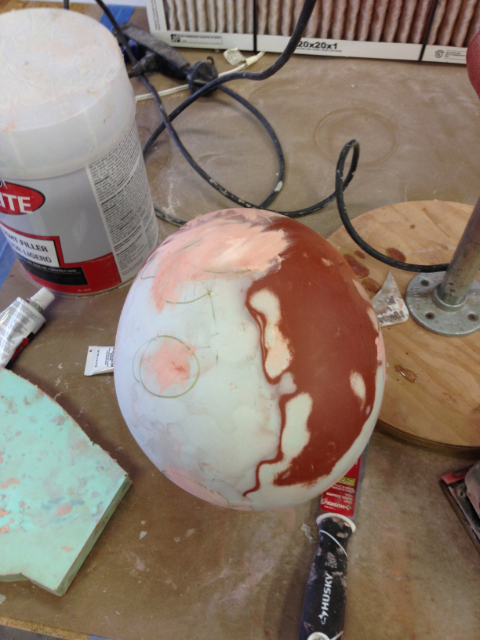
Stage Two: Apply an automotive body filler, and sand, and repeat until you think it’s done, and then do it some more.
Recommend using a light body filler, because proper Bondo cures very hard and become difficult to sand/shape without power tools A lot of this comes down to finesse to get symmetry. I custom cut some applicator out of styrene for applying on the curve.
There is a period as the body filler cures where you can use a razor to cut and smooth before you start sanding.

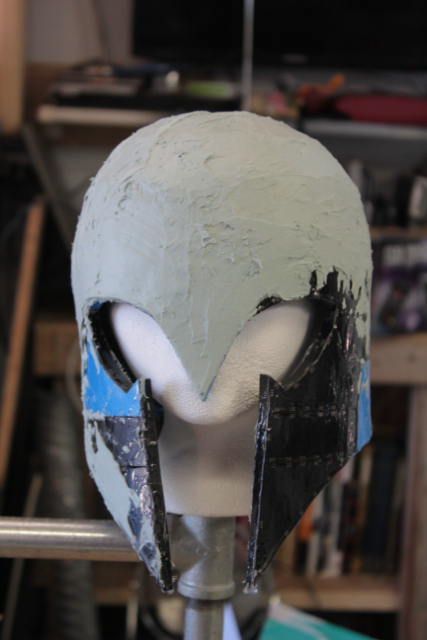
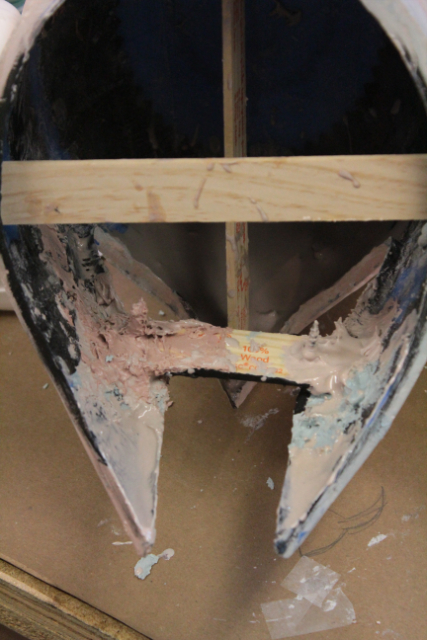
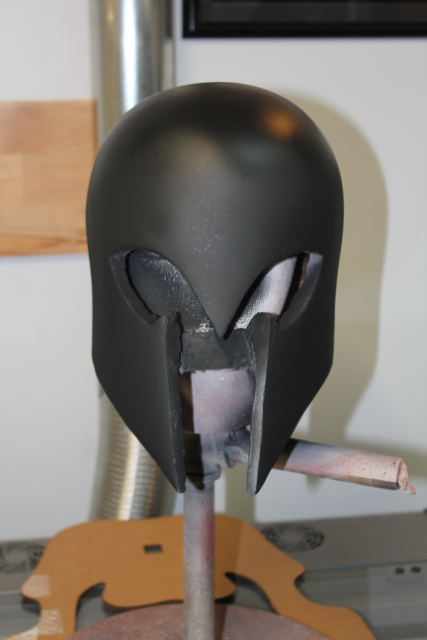
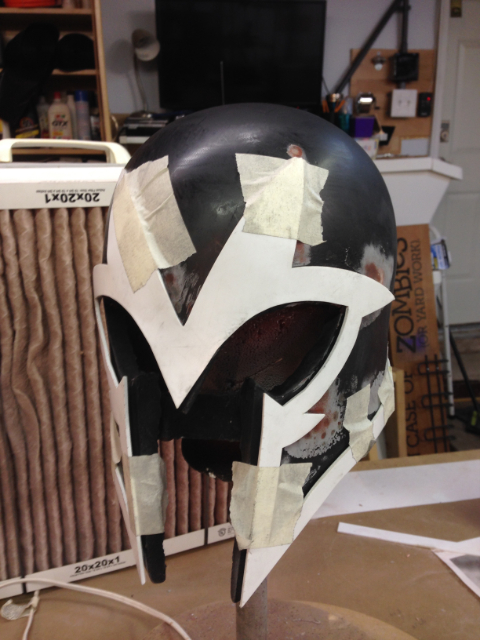
To achieve a screen accurate helmet, I had to cut and brace wood with the body filler.
Sand and fill…

Paint with primer, and that will let you know how close you are…
Which is usually not very close.
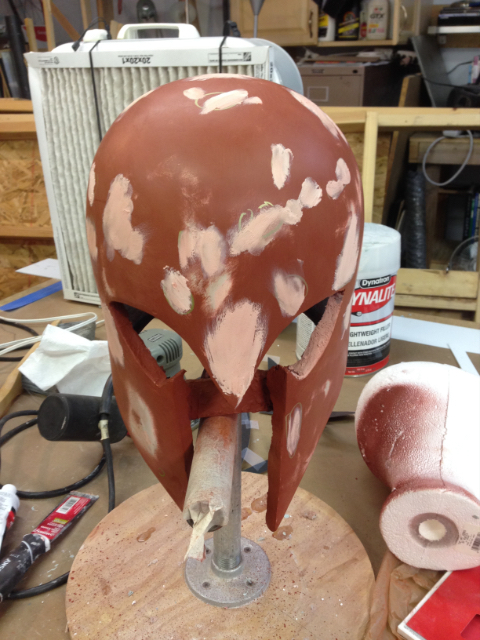
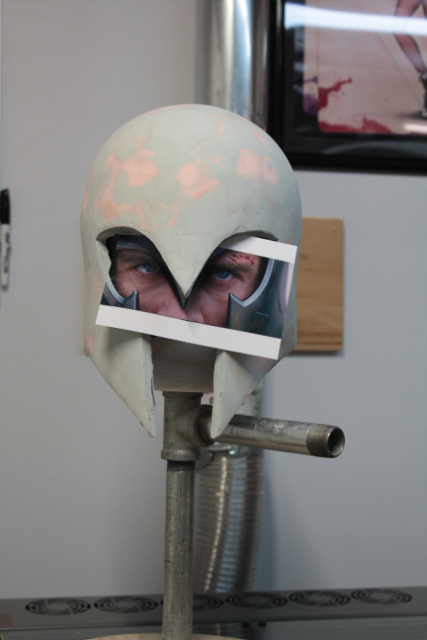
Doing test cuts for the raised surfaces.
Refine, looks perfect right?
It was of course, but only on one side.

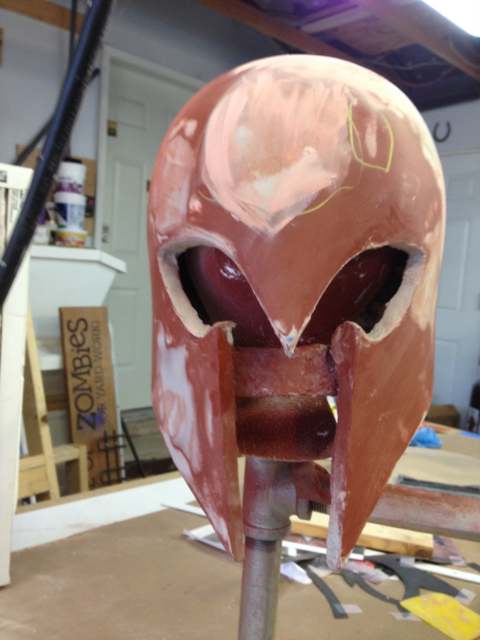
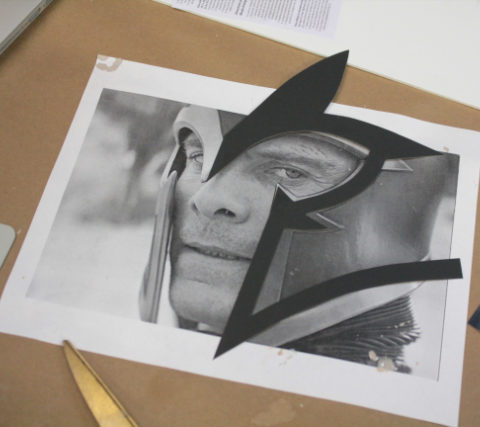
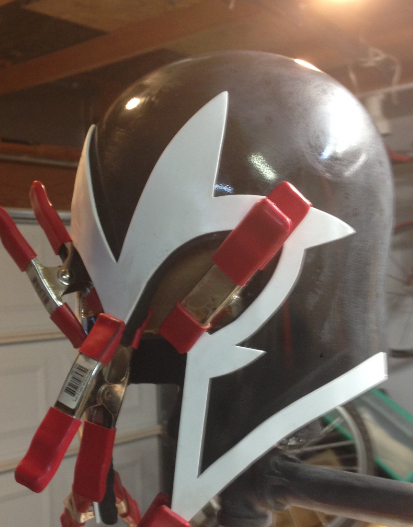
Instead of trying to build up filler on cardboard, I cut the parts out of styrene on the laser.
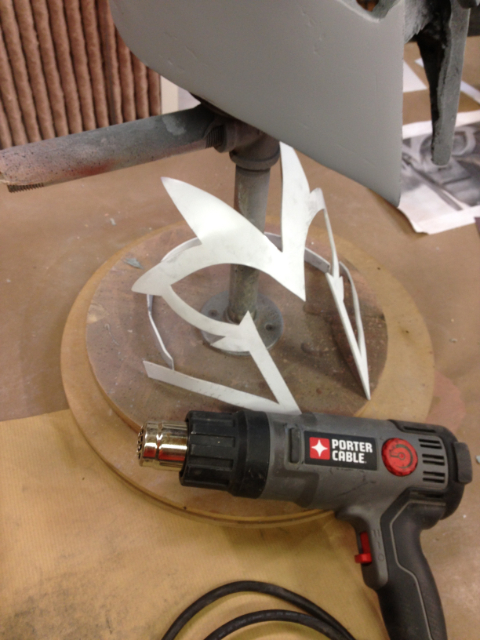
Using a heat gun, formed the parts over the helmet, but not without causing some bubbling in the in primer layers.
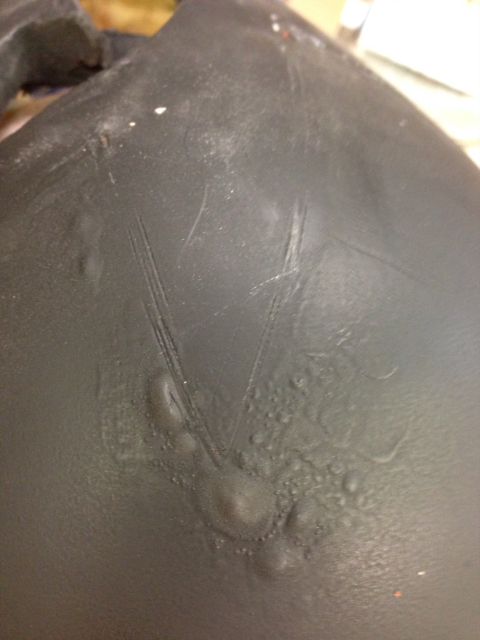
Nothing a little sanding and filling couldn’t clean up.
My theory is if you get it shiny smooth before you mold it, that’s less work for us when it’s cast. So sanding it up to about 1200 grit.
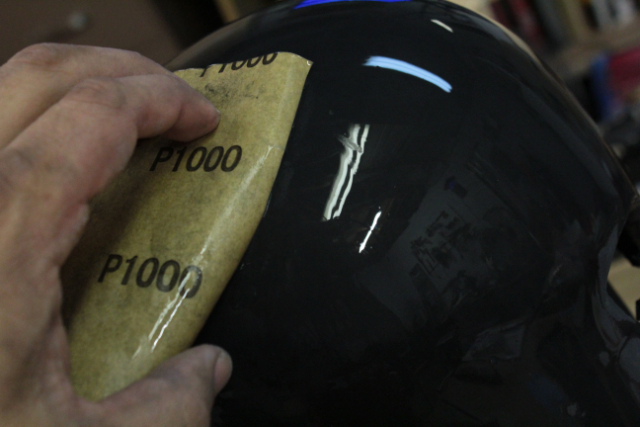
Then applying an automotive clear coat finish.
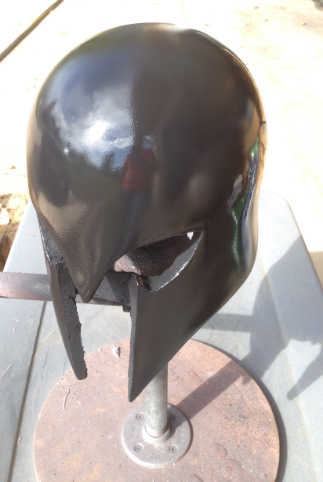
If you’re just going to waste mold it, like I was going to it seems a lot of extra effort, but really the clear coat was to protect it when gluing on the styrene pieces. You could literally scratch the finish with a fingernail, and I didn’t want to risk the superglued plastic ripping up a chunk.
If you ever have to buy a gift for a maker, and don’t know what to get: clamps. There are never enough. Any size will be well-loved at some point.
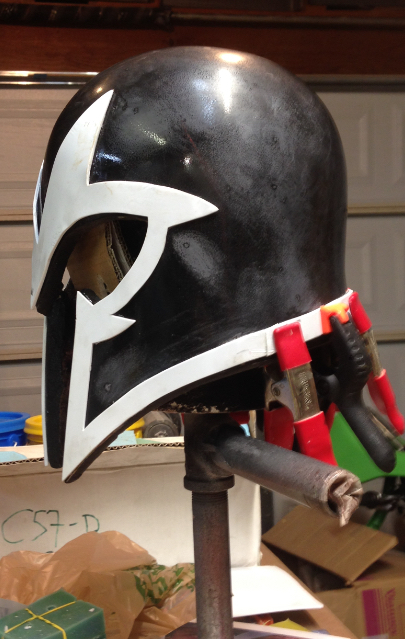
I wanted a helmet that didn’t rely on wood bracing to remain true, and the edge work needed to be cleaned up anyway.
To be continued…
Stay tuned for Part 2
This helmet is available as a kit.