
Vacuform Small Upgrade: 8″ x 12″ Platen
I took on a project that required vacuforming some parts, but my www.build-stuff.com Proto-Form has a 24″ x 24″ bed.
The client had a dental vacuform which was tiny and horribly inconsistent. There was no way I was going to get 500 parts out of it. So it was time to upgrade my vacuform- who I call Khalessi.
So it was either build a tabletop vac or simply upgrade my vacuform to accommodate PETG and other expensive materials.
| Length | Width | |
| material | 8 | 12 |
| frame (i.d) | 7 | 11 |
| mdf | 6.375 | 10.375 |
| top aluminum | 8 | 12 |
| bottom aluminum | 6 | 10 |
| mesh | 5 | 9 |
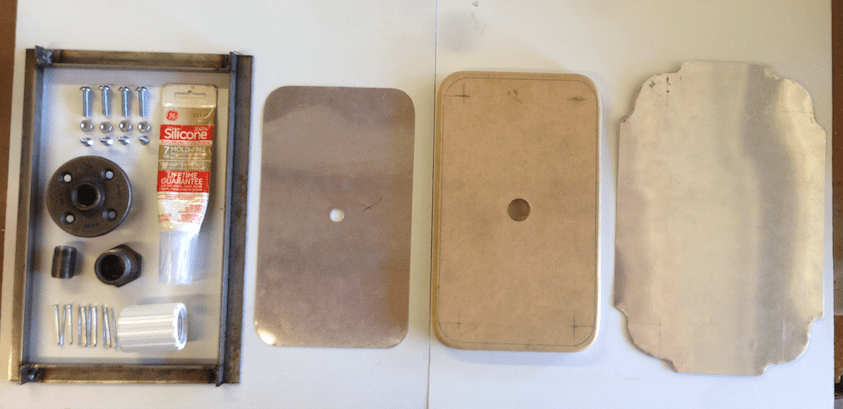
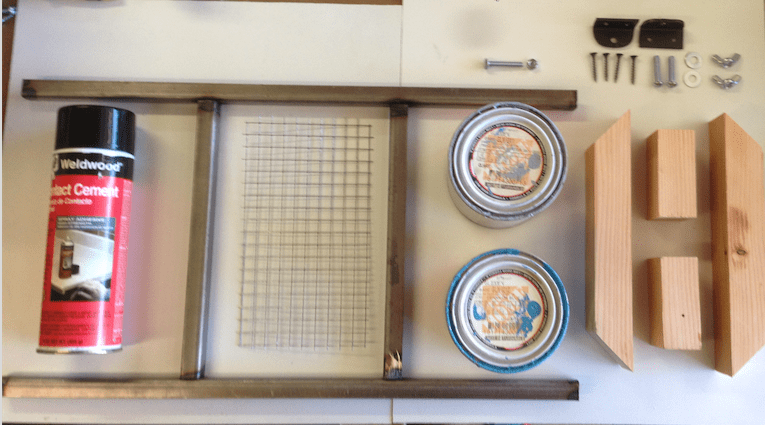
BOM:
- 69″ of 3/4″ angle iron (2x 22.5″, 2×11″) Bottom Frame
- 36″ of 3/4″ angle iron (2x 14″, 2×11″) Top Frame
- 3/4″ MDF cut to size
- 2 pieces of aluminum sheet cut to size
- 1/2″ hardware cloth cut to size
- 1/2″ pipe flange
- 1/2″ pipe cut to size
- 1/2″ thingee
- 1/2″ to 1″ iron hex reducer
- 1″ pvc coupler
- 4 x #10 Screws
- Sealing silicone
- 2×2 wood
- 2 x L-brackets like Part R, and hardware.
- 4 x 1/4″ nuts
- 4 x 1″ 1/4 round head bolt
- 1 x 1/4″ Hex head bolt
- Various clamps and 2 x vice grips
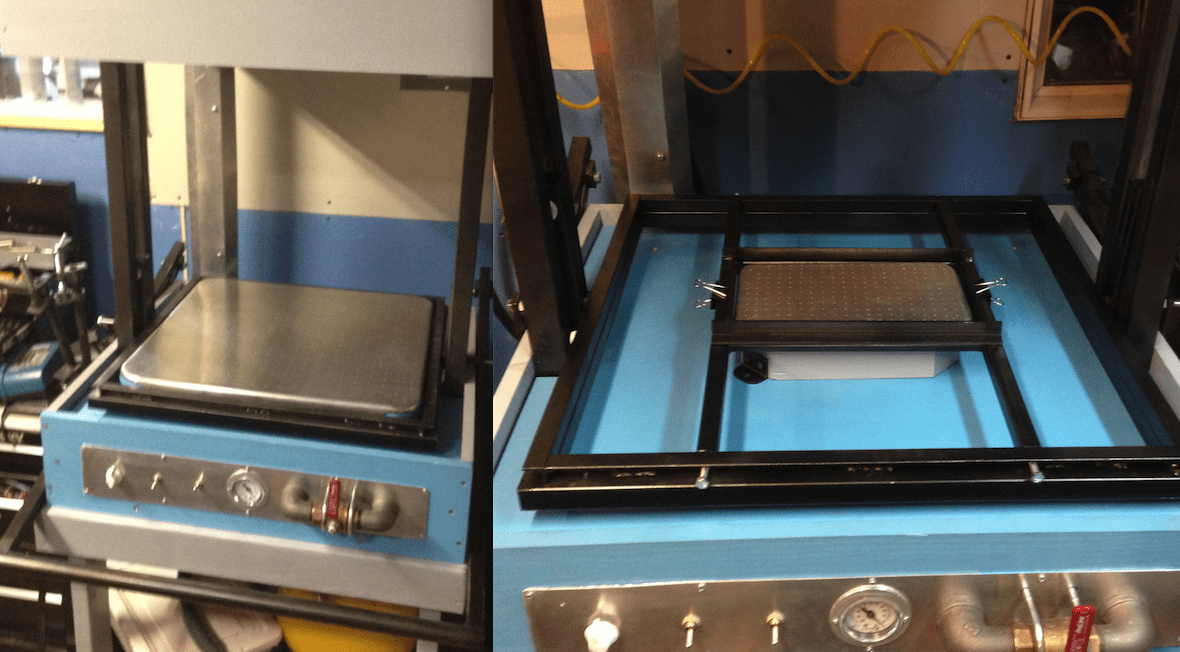
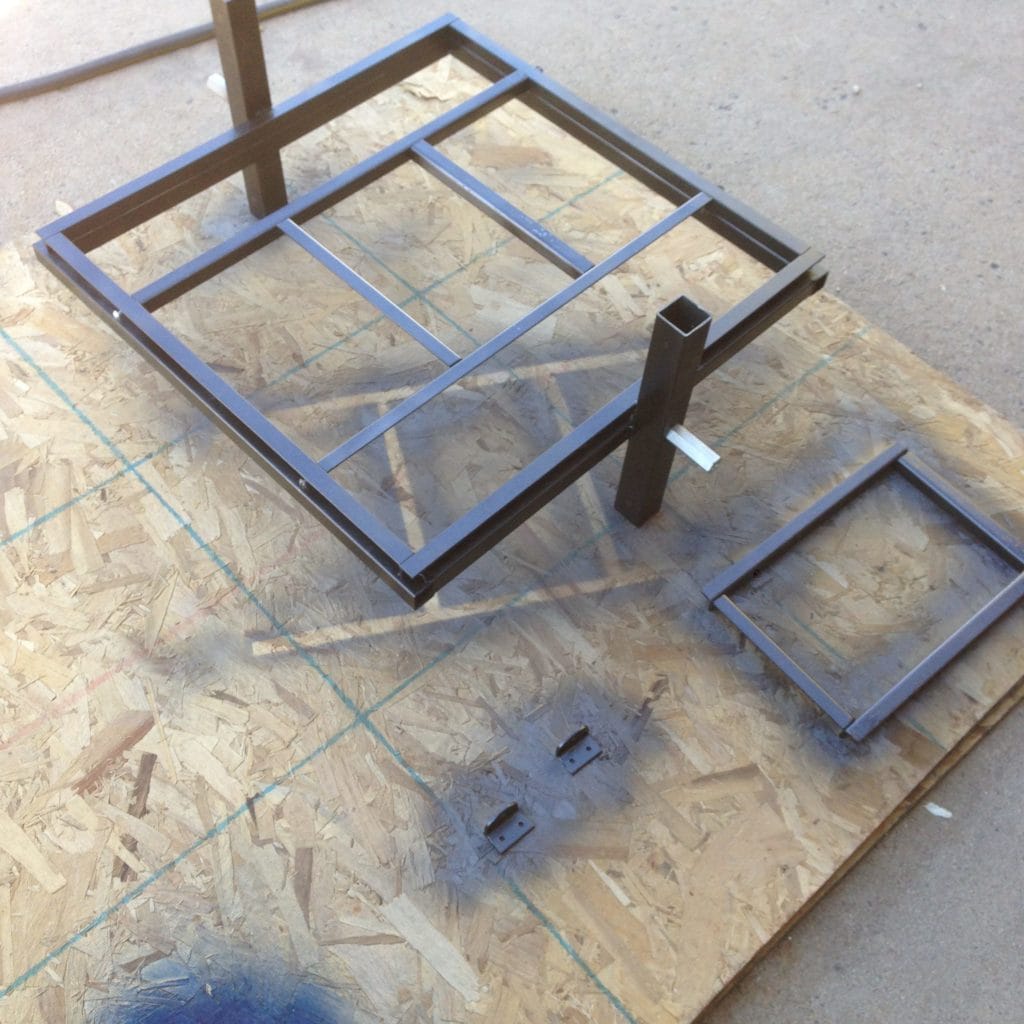
Part 1: Modifying the Carriage Assemblies and building new frames
So this upgrade requires drilling holes in the main frame and attaching an angle iron frame to hold material over a smaller platen. So if you’ve already made a platen according to the plans, these are scaled smaller.
I’ve made CNC plans so you can carve and cut parts and templates with a laser cutter and an x-carve/shopbot.
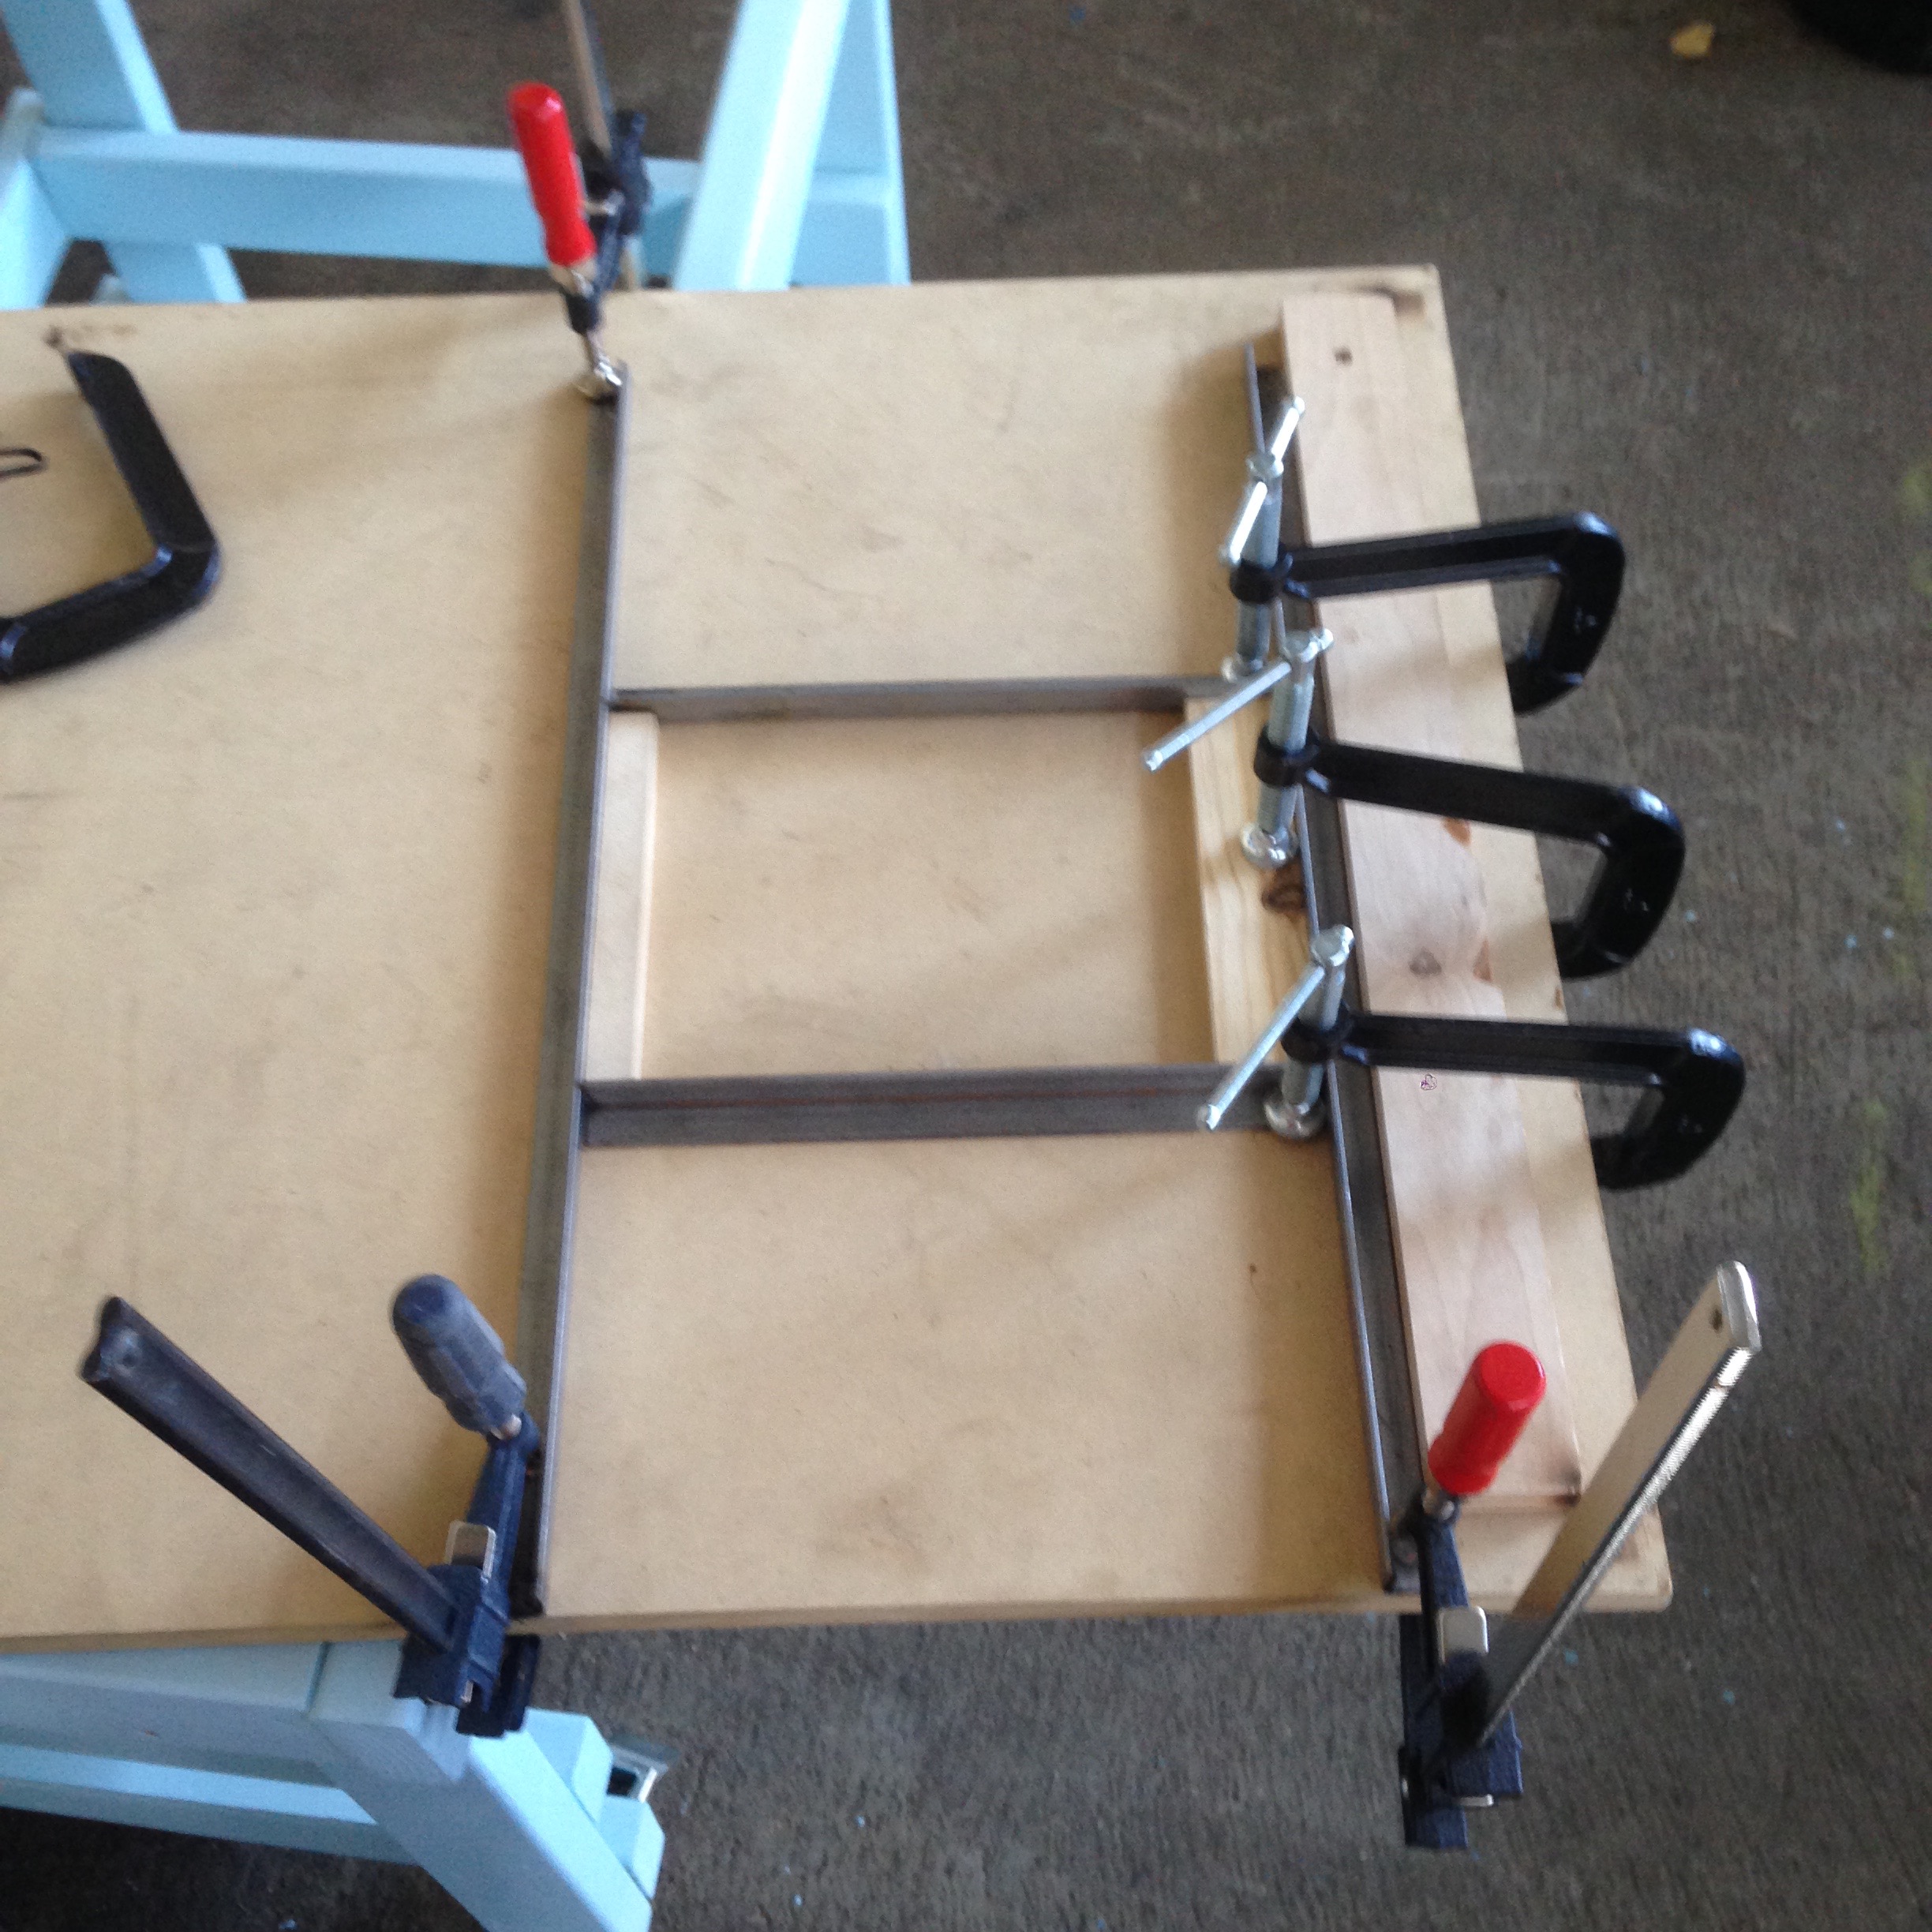
First we start with standard welding build the frame so that it fits front to back inside of your carriage assembly. Make sure you get actual angle iron with a sharp exterior corner. The big box stores carry a 3/4″ angle iron with a soft bend, which gives you less surface area to hold the piece. (I’m going to have to redo mine).
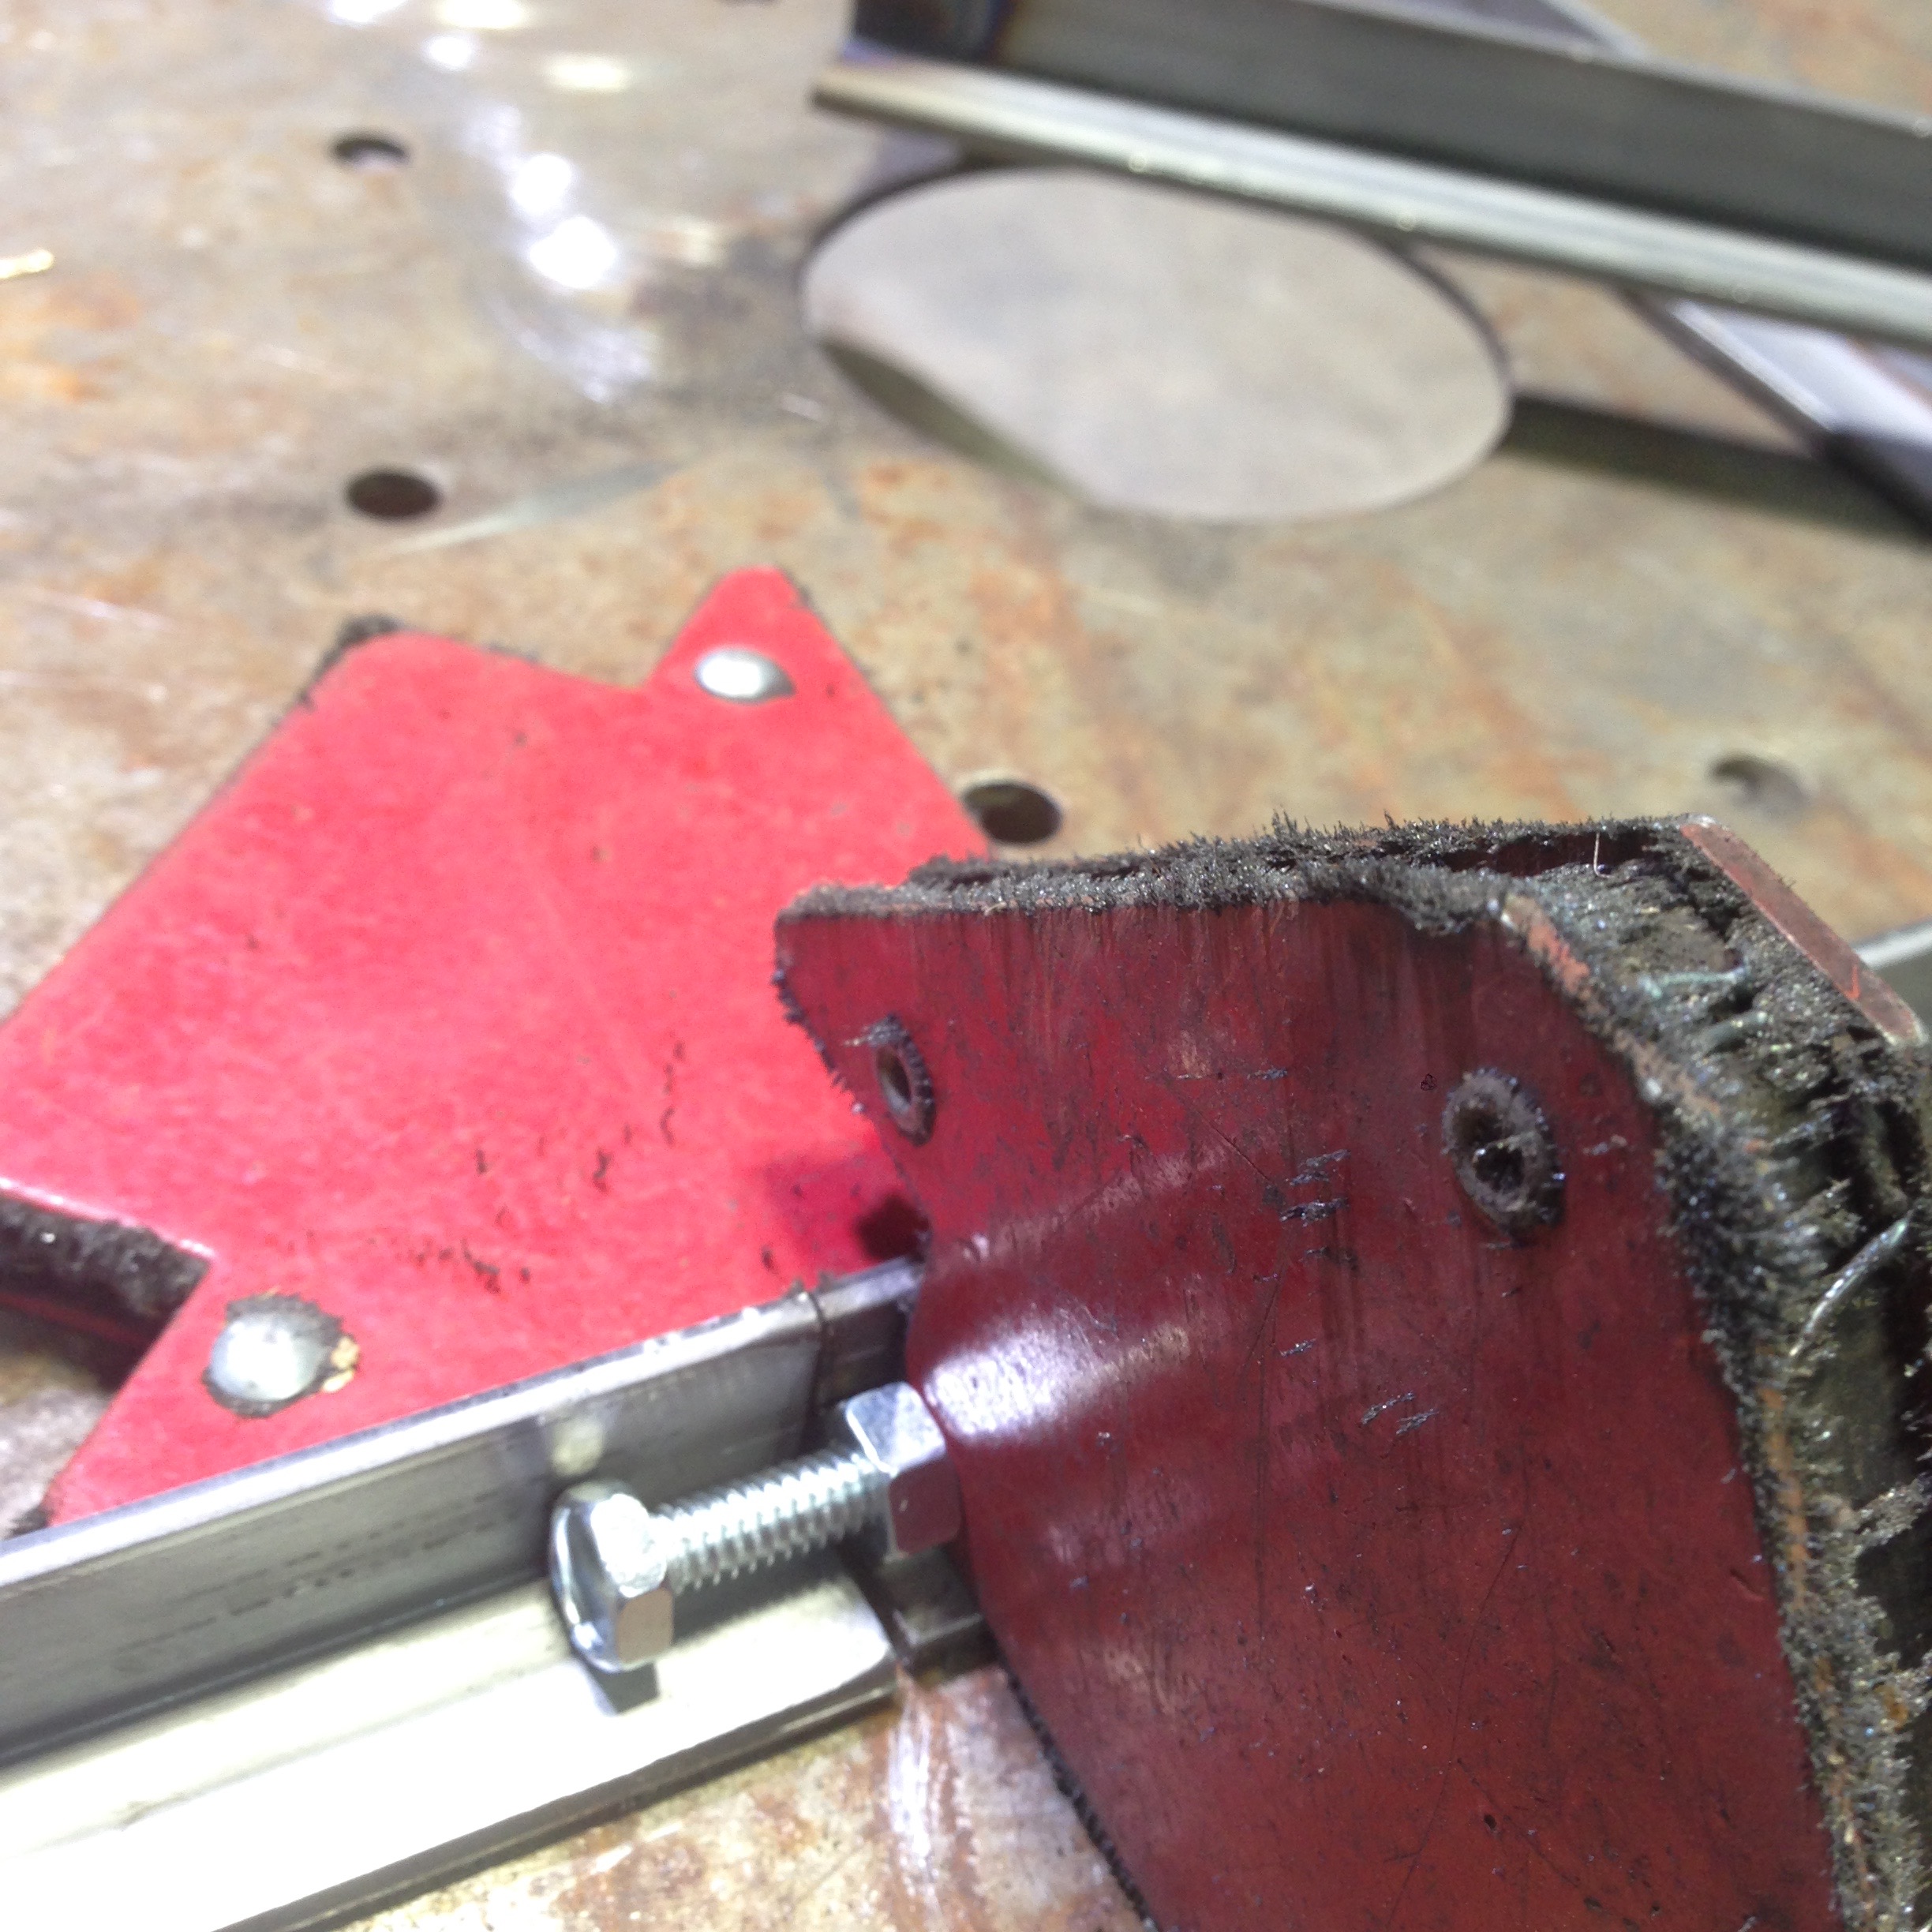
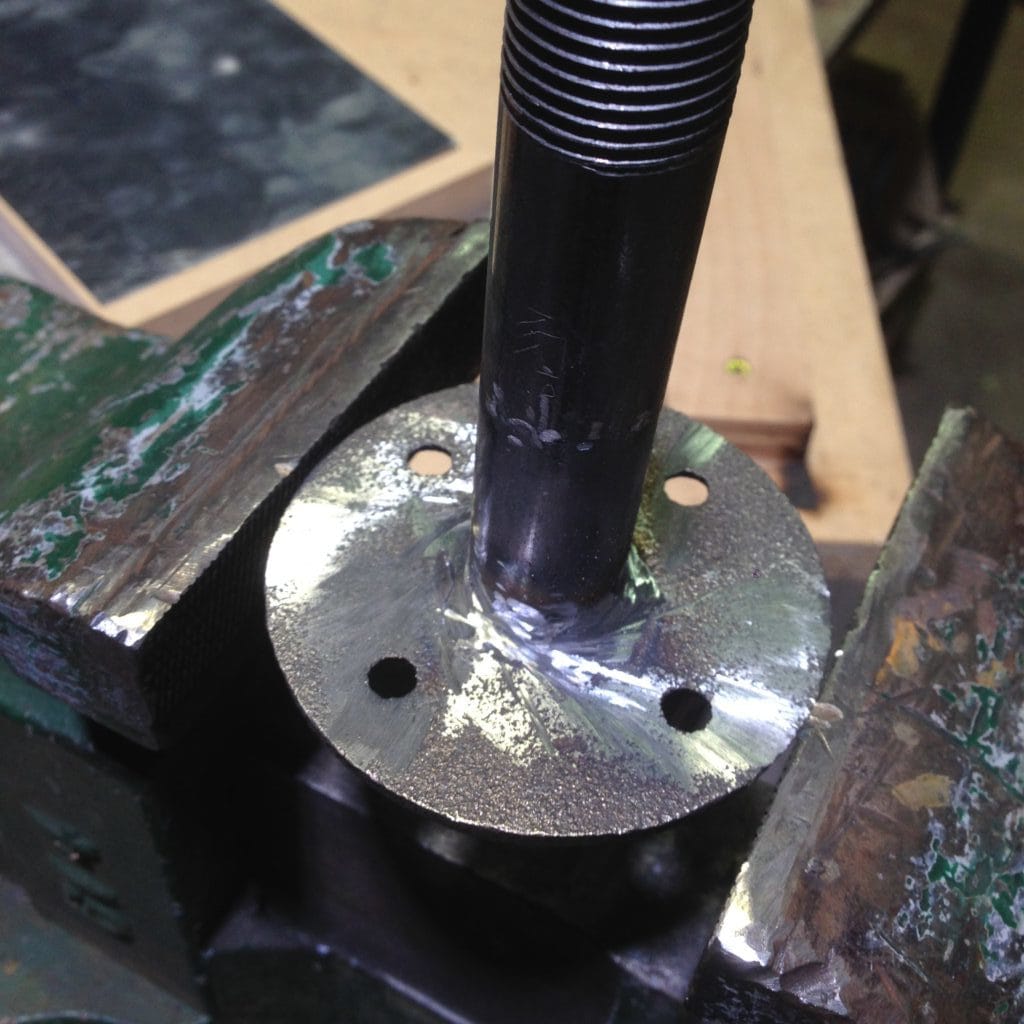
For the connection point to the carriage assembly, you need to weld screws to your new frame.
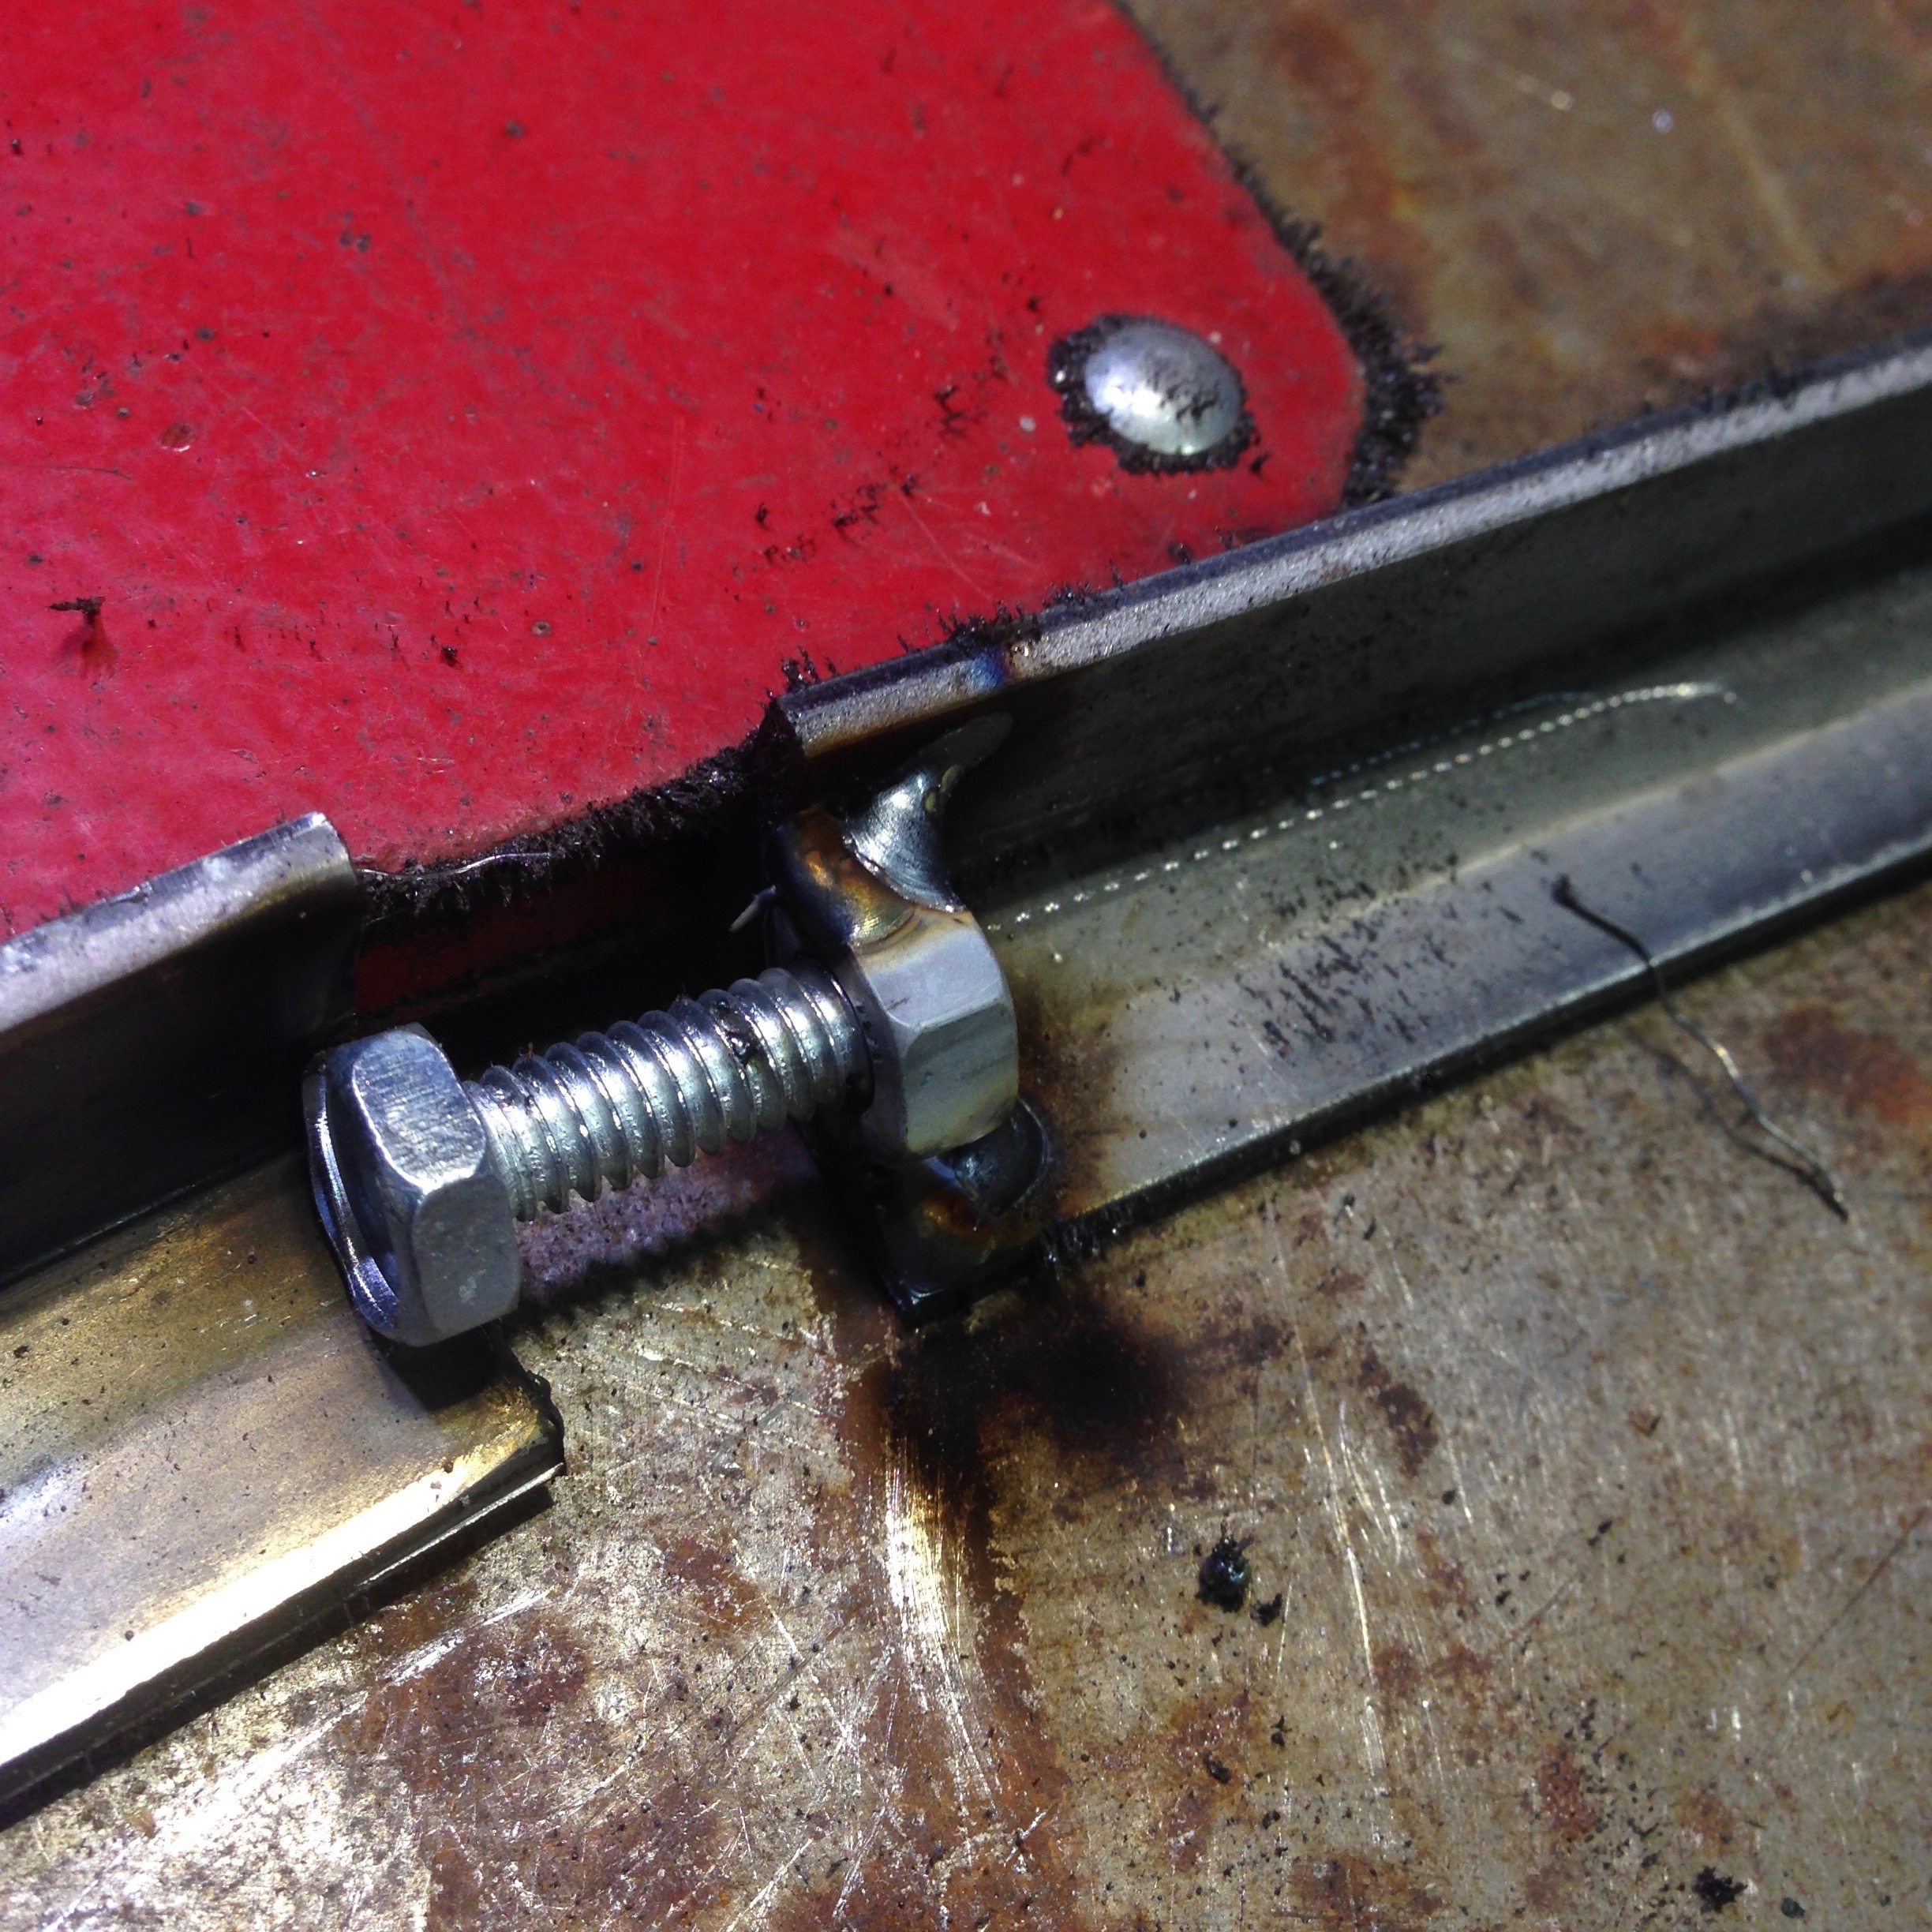
Here’s my little trick to get the nuts on square. Use a bolt with the same size head, and line it up a separate piece of angle iron.
Once it’s welded in place you can slide off the angle iron and replace it with a round head bolt that you can use a screw driver on.
Once you’ve got the frames welded up, all you need to do is drill holes in the carriage assembly-
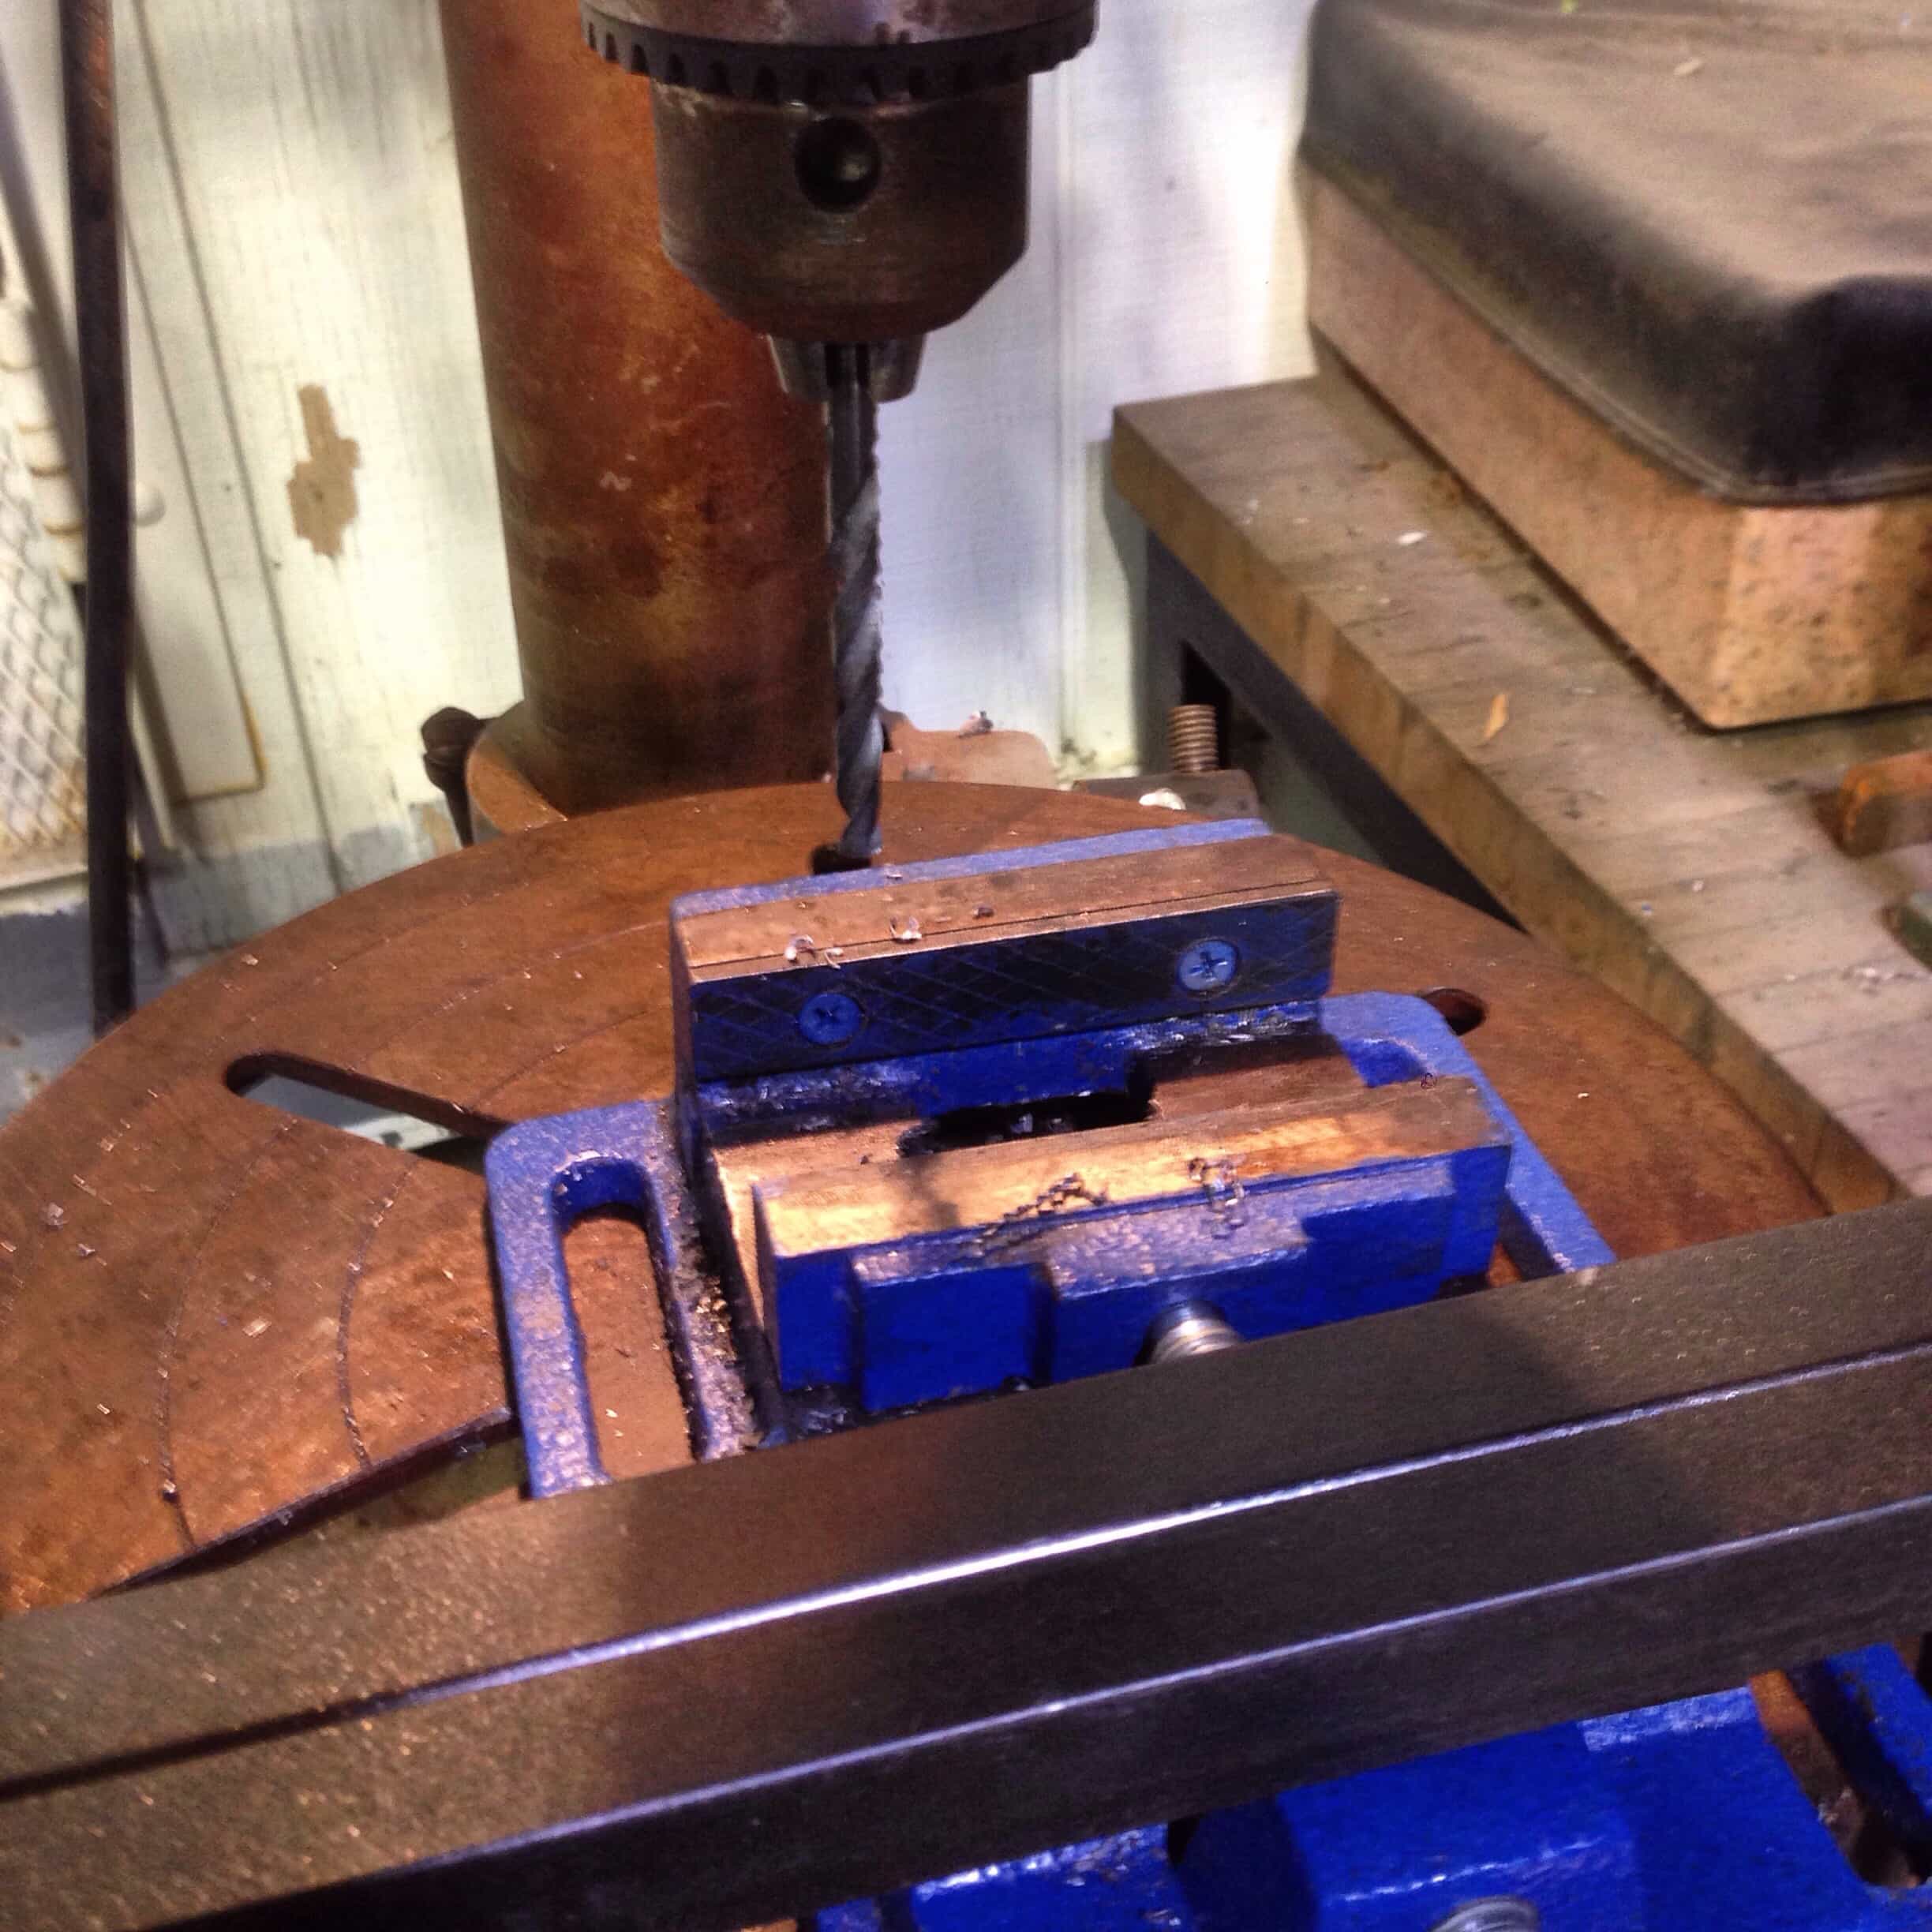
I took a Q-tip and some white paint and painted where the new holes need to go. Loaded her up on the drill press. Once you fit your bolts you can clean your steel and paint them up.
Part 2: Vacuum System
The next part of the upgrade is the attachment where the vacuum hoses switch in and out between platens. I never really like the original plans because it relied on a silicone seal to hold pvc in place and silicone formulas have changed and gotten softer.
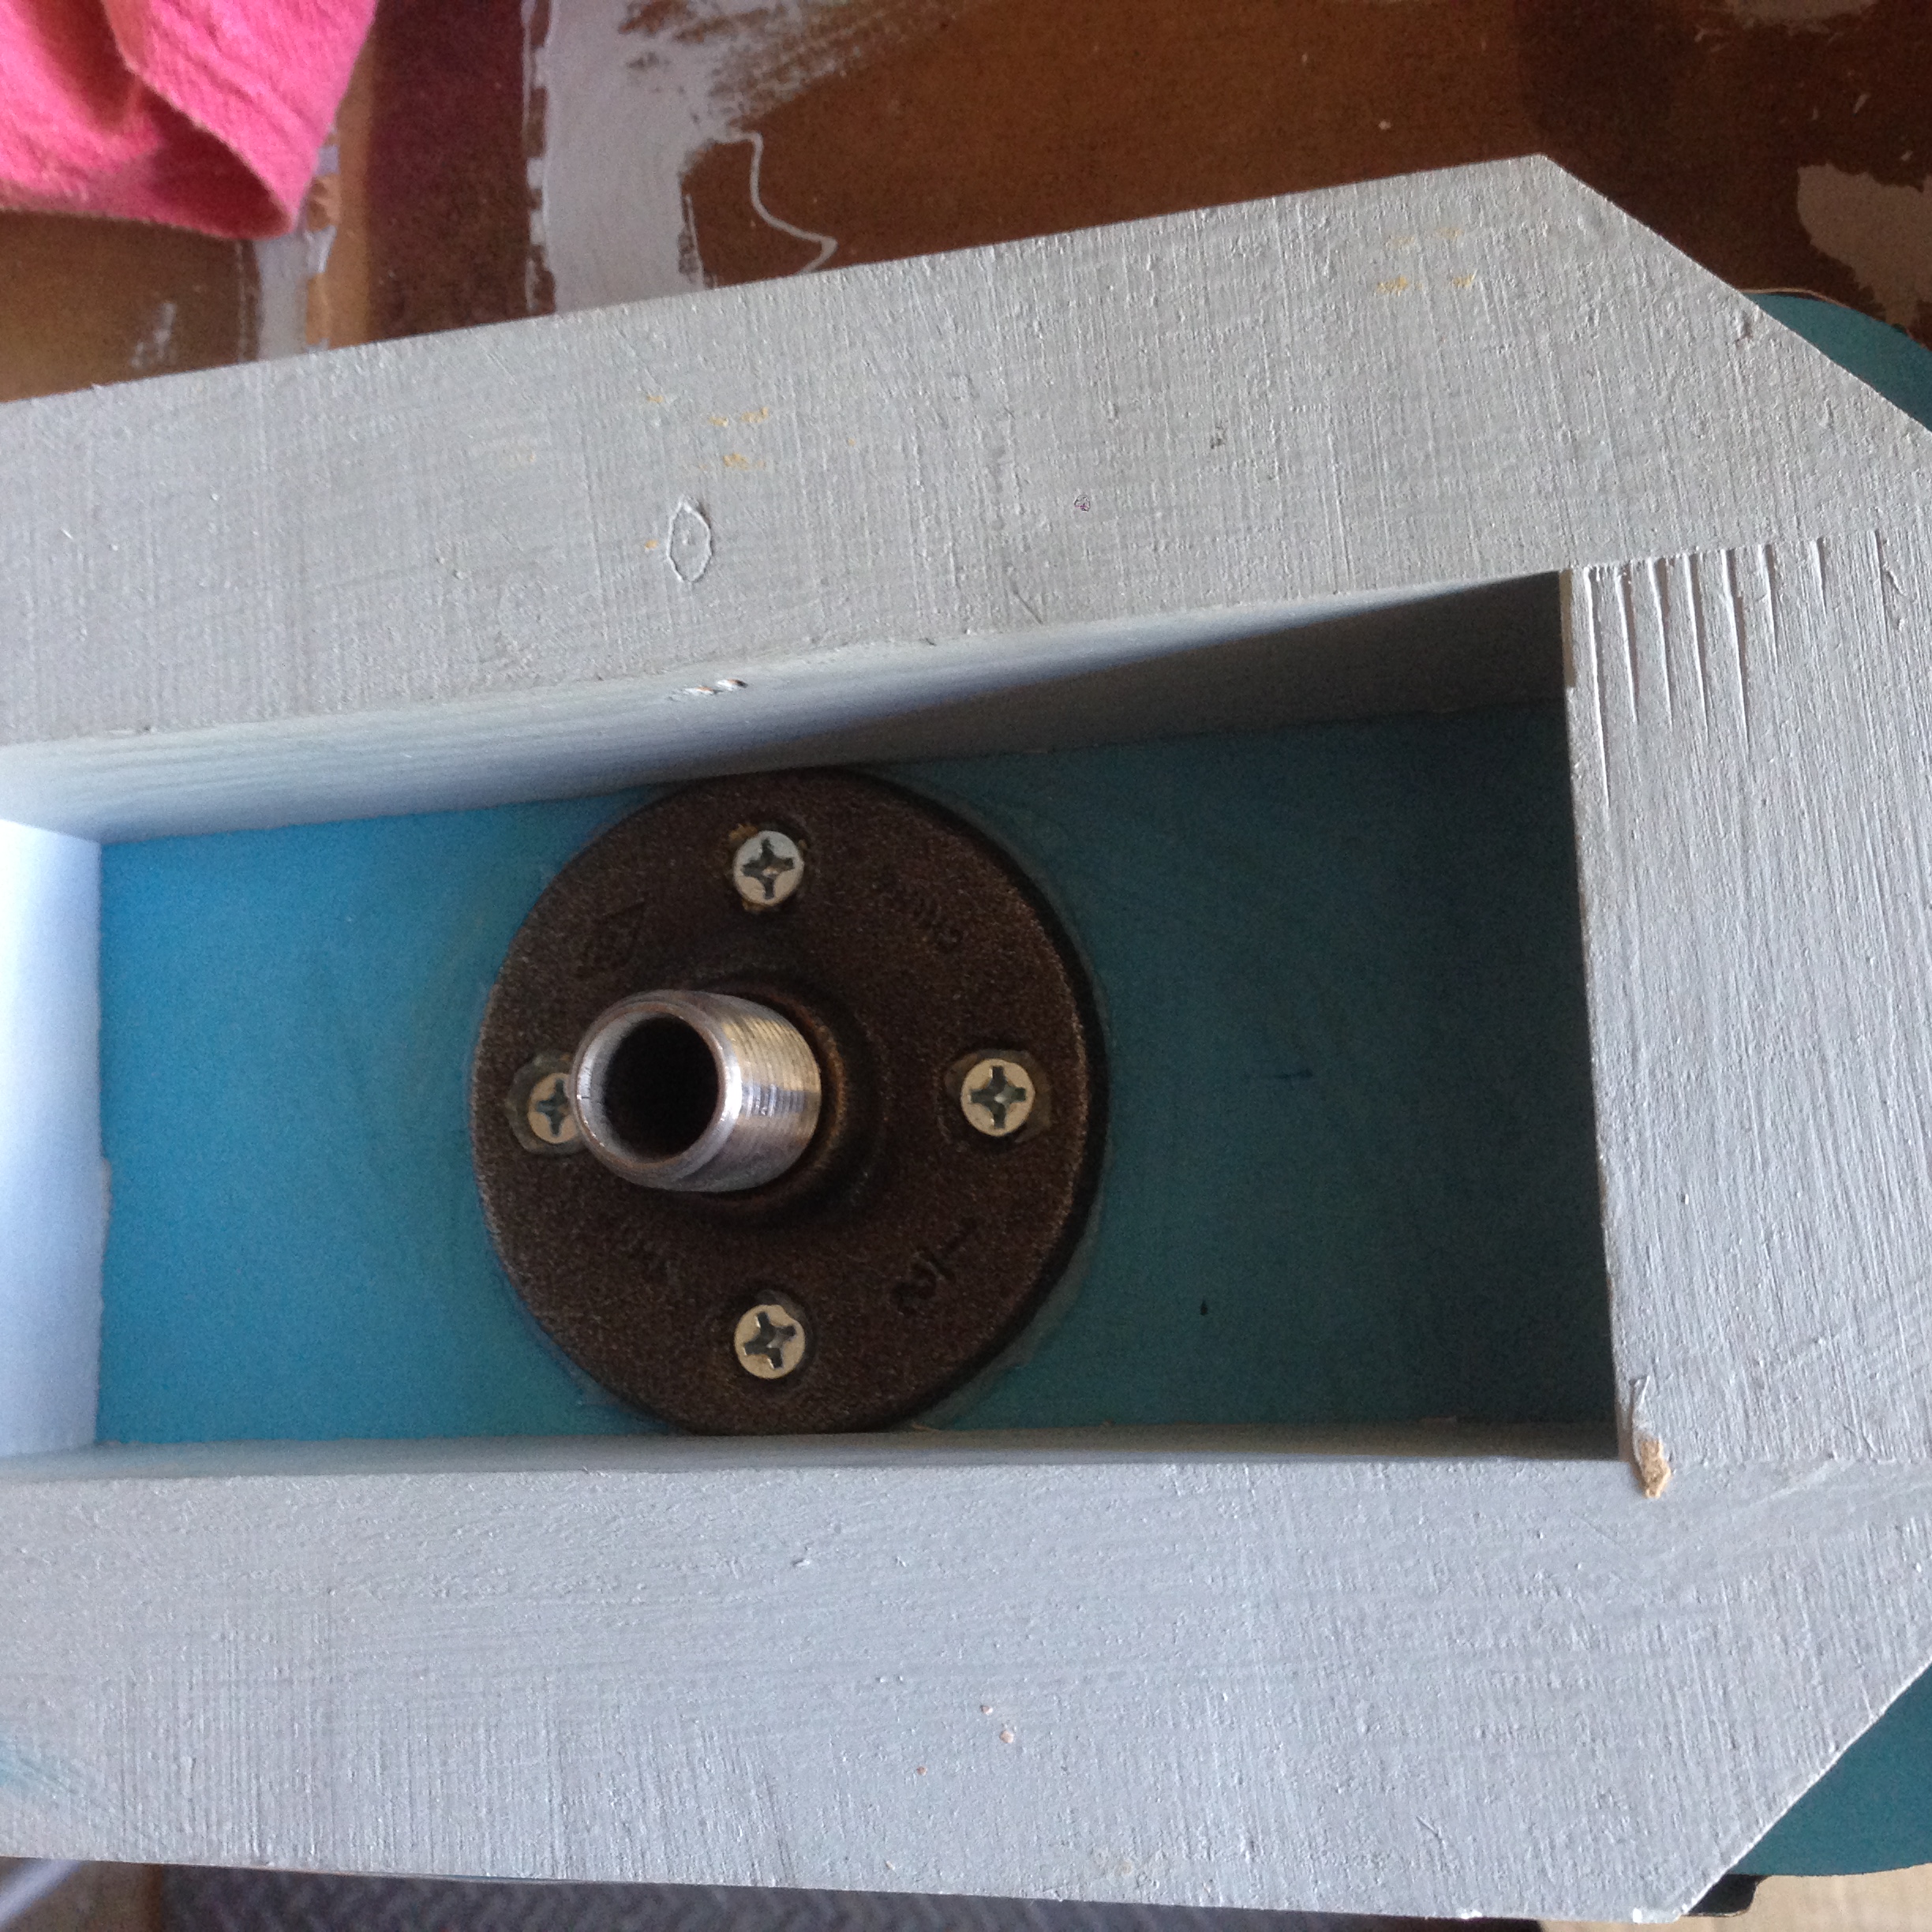
The new method I use, is I take a pipe flange, weld a bit of one inch pipe to the inside. This lets me have a solid iron flange that I can screw to the platen permanently and change out the vacuum hose easily with out damaging the seal.
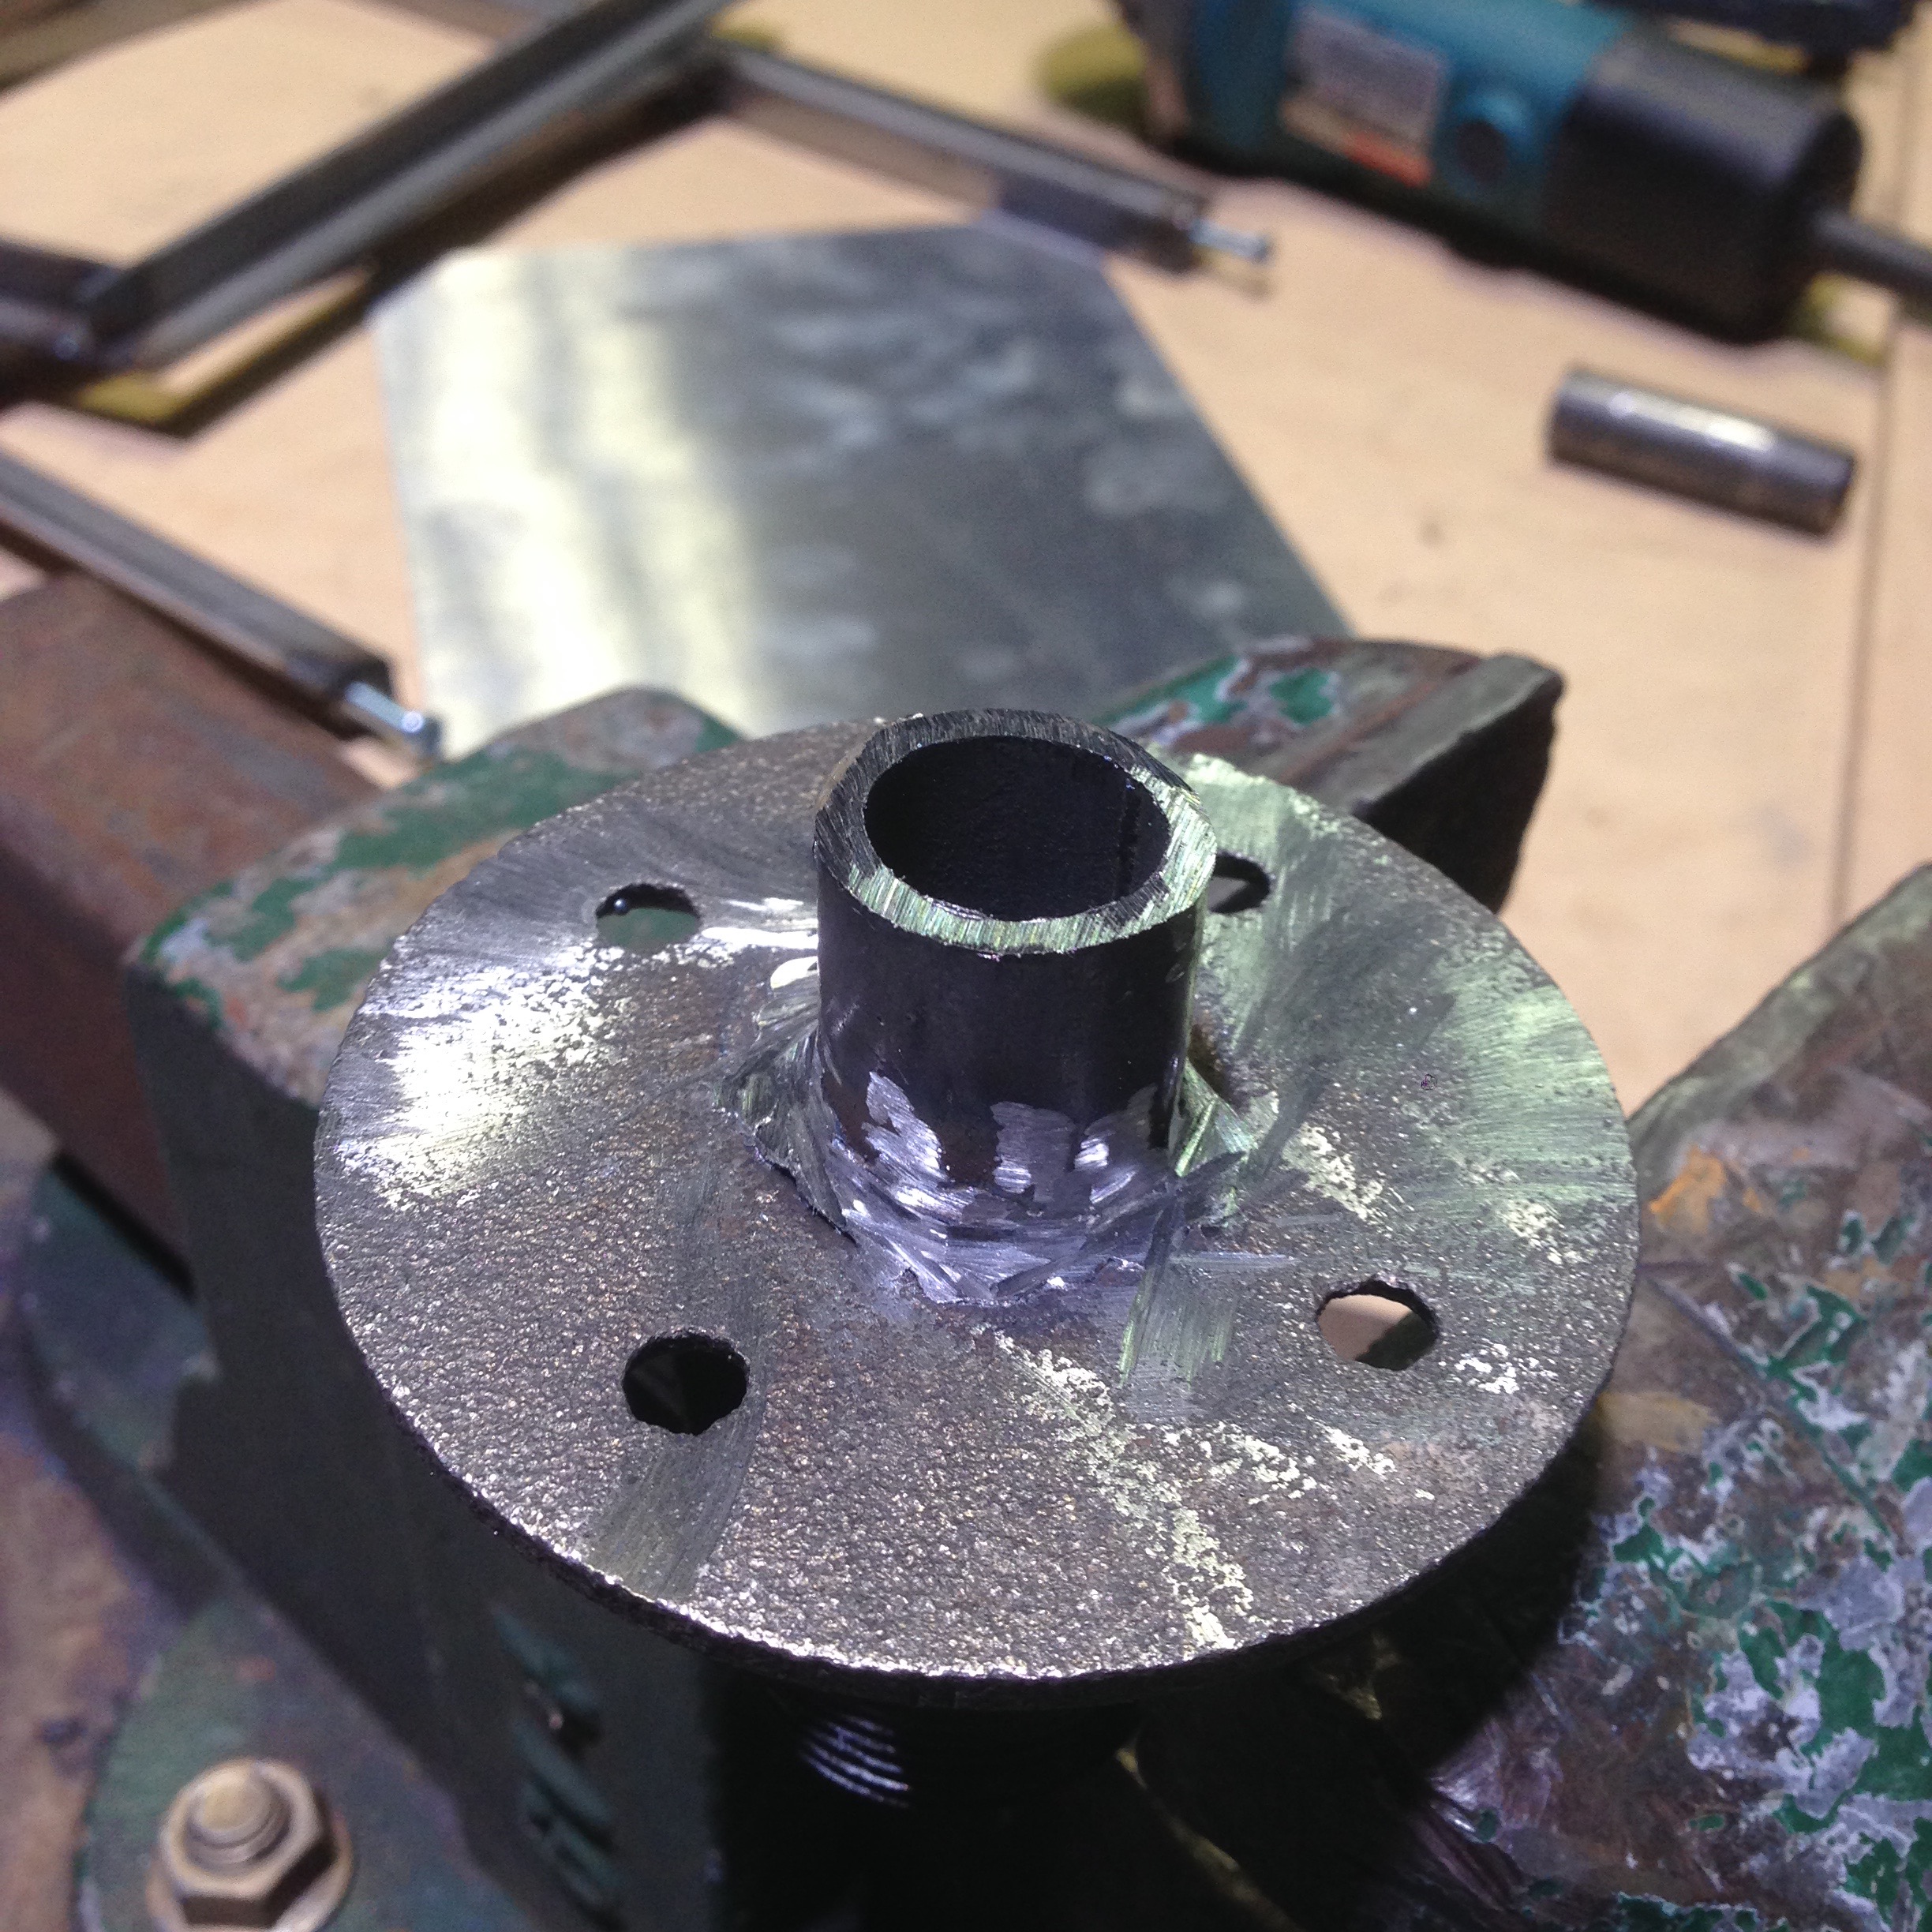
Now there is a silicone seal from the platen to the flange. The flange is screwed to the bottom of the platen, so changing platens won’t create seal issues- ever.
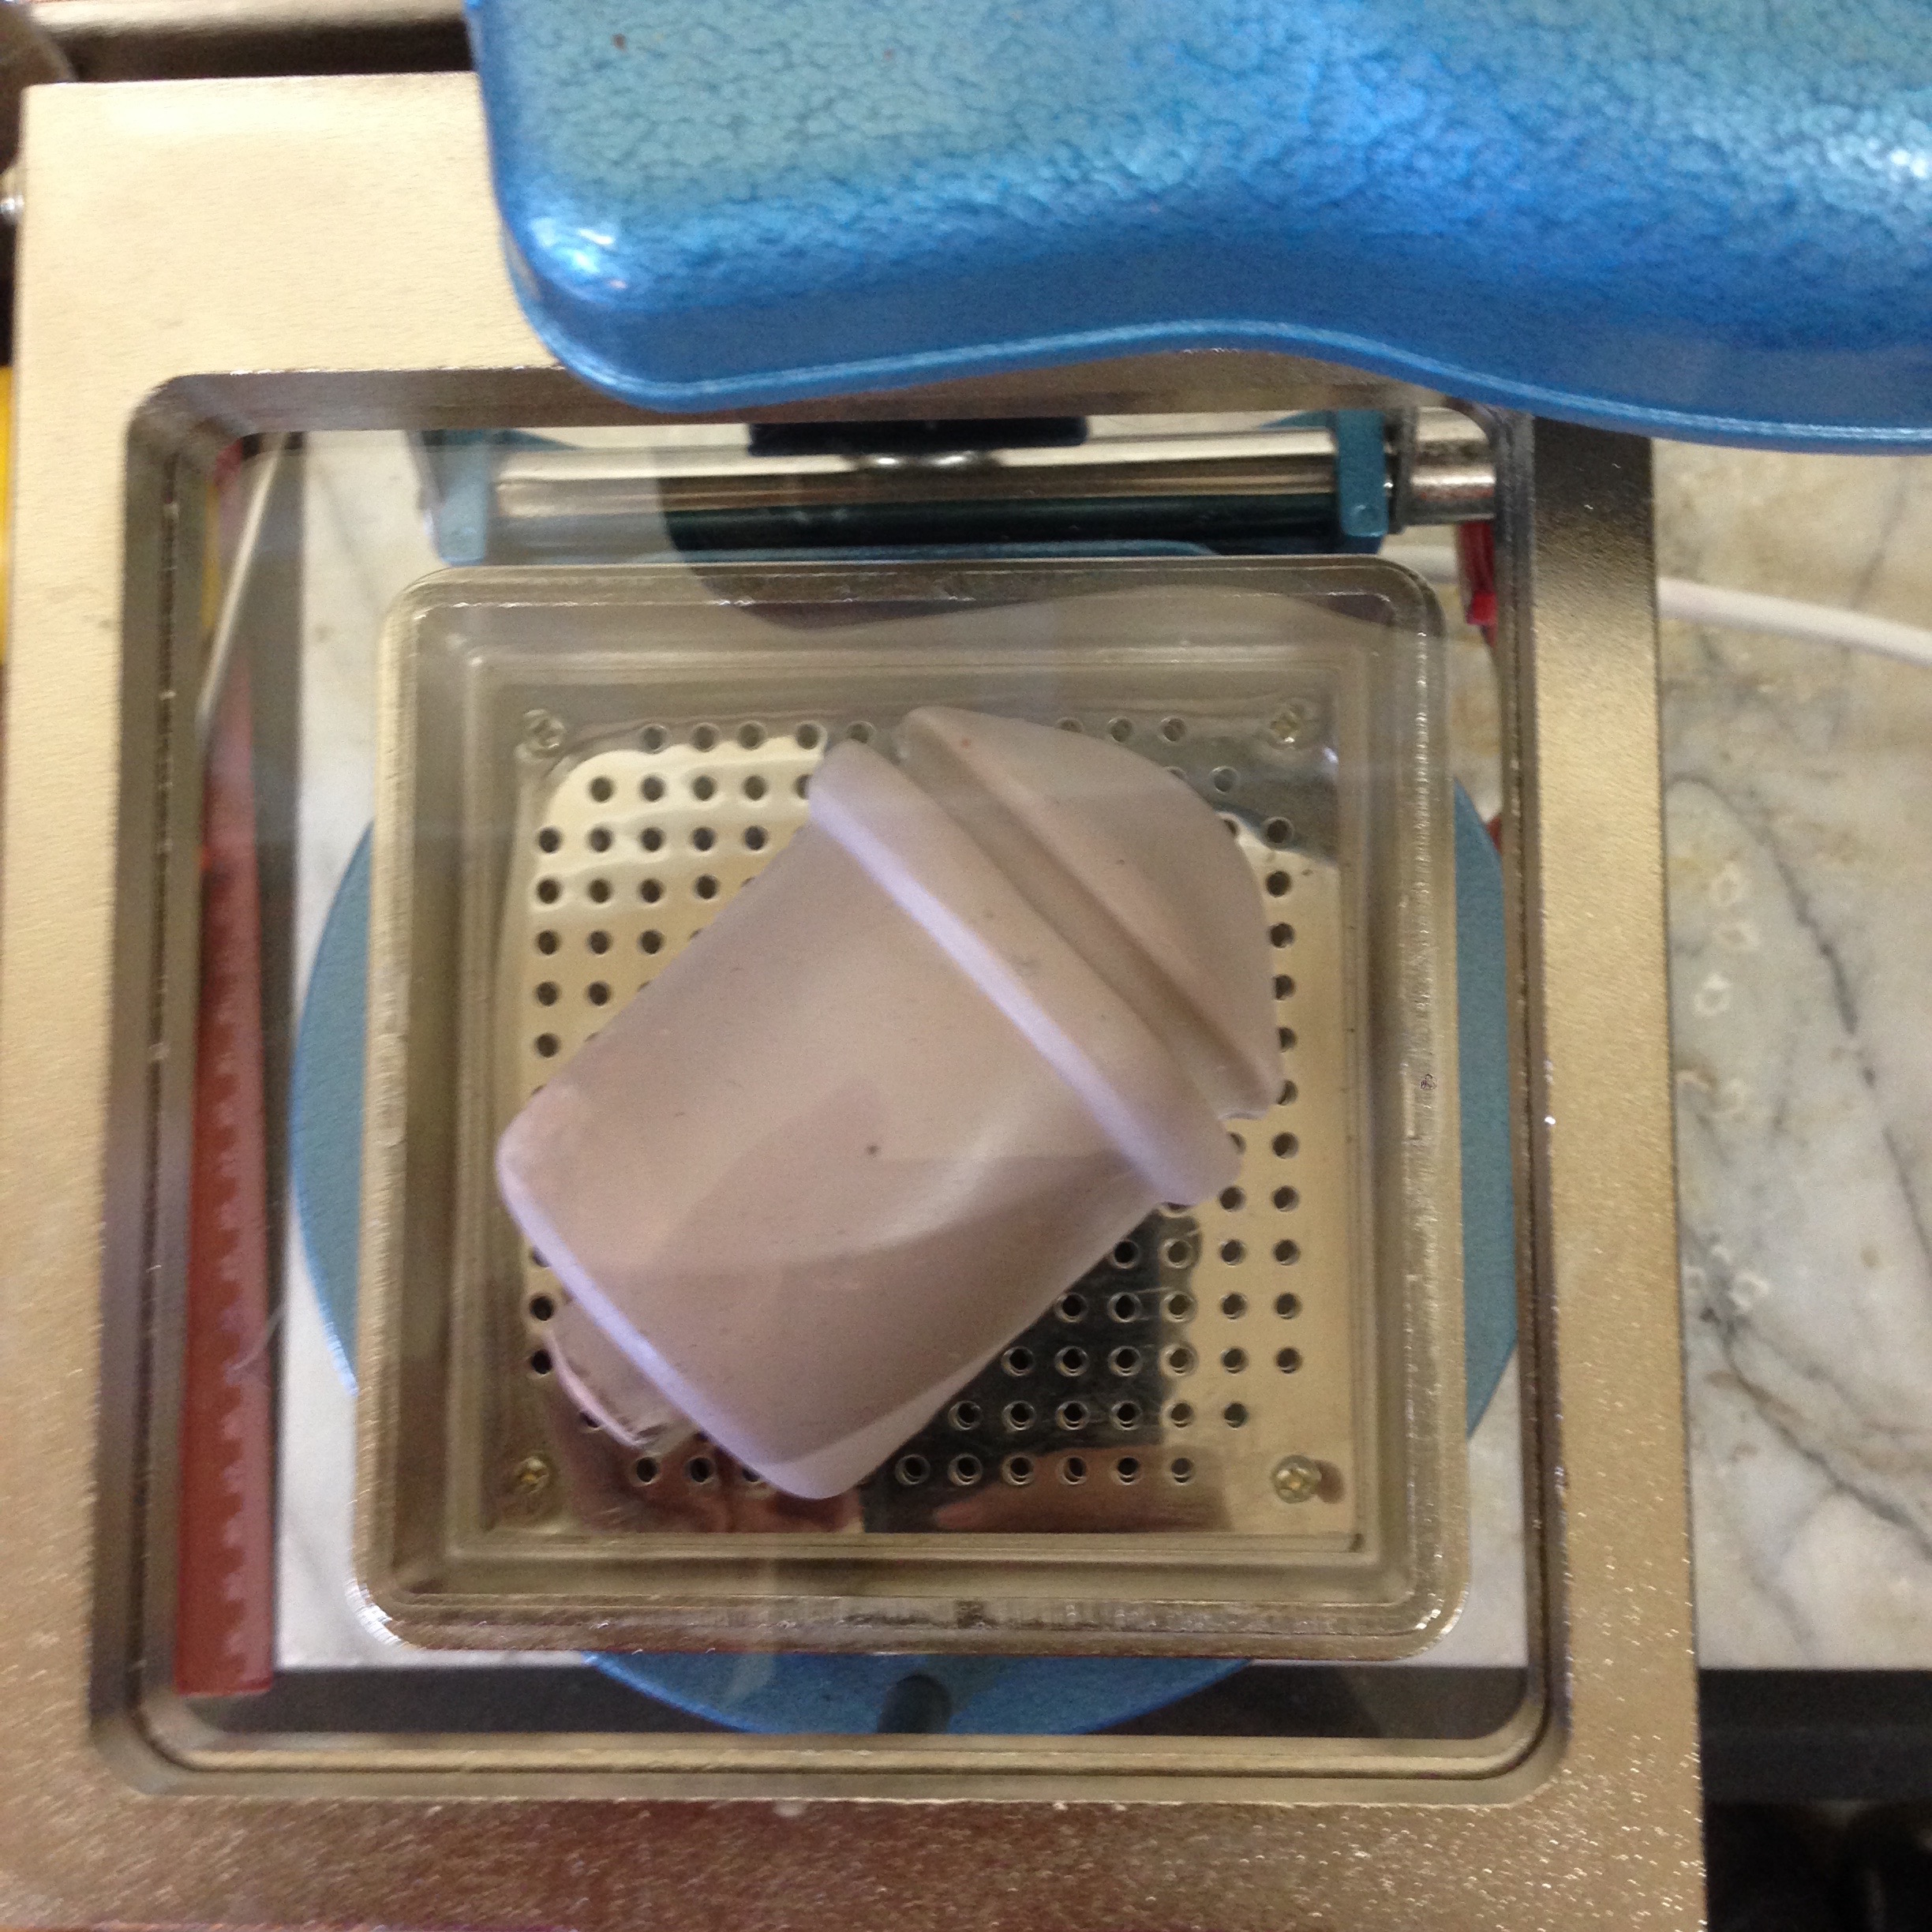
Part 3: The Platen
The rest is pretty standard except you get to use cnc tooling and templates to finish it with the files that I made.
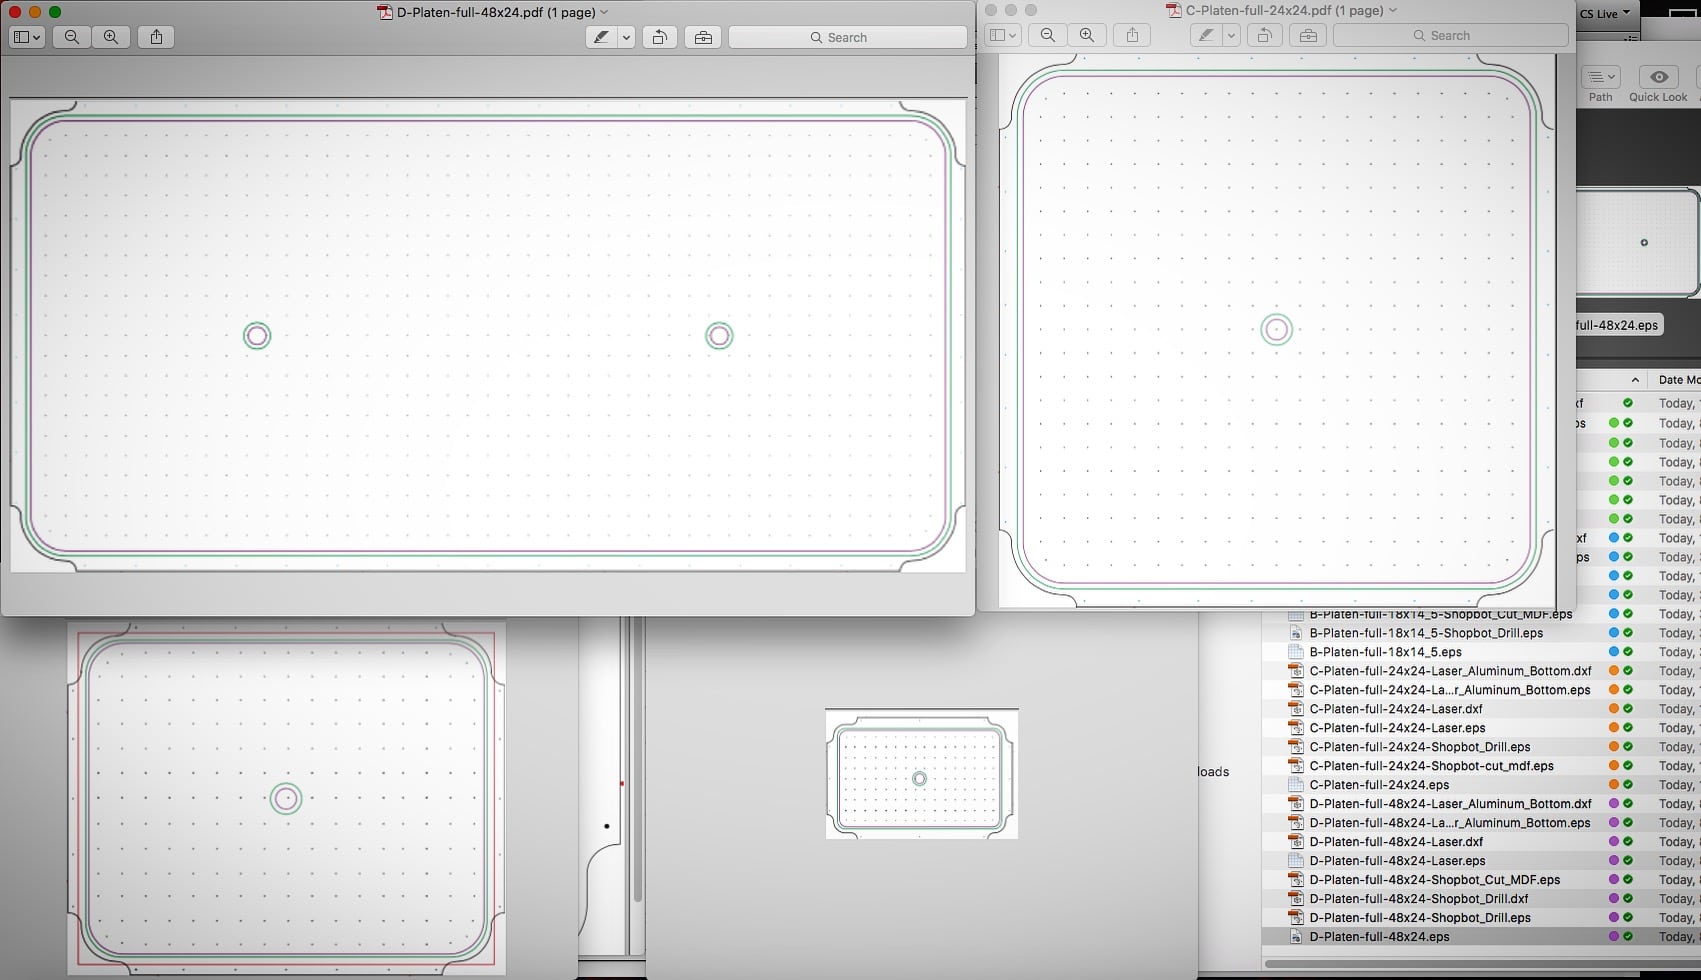
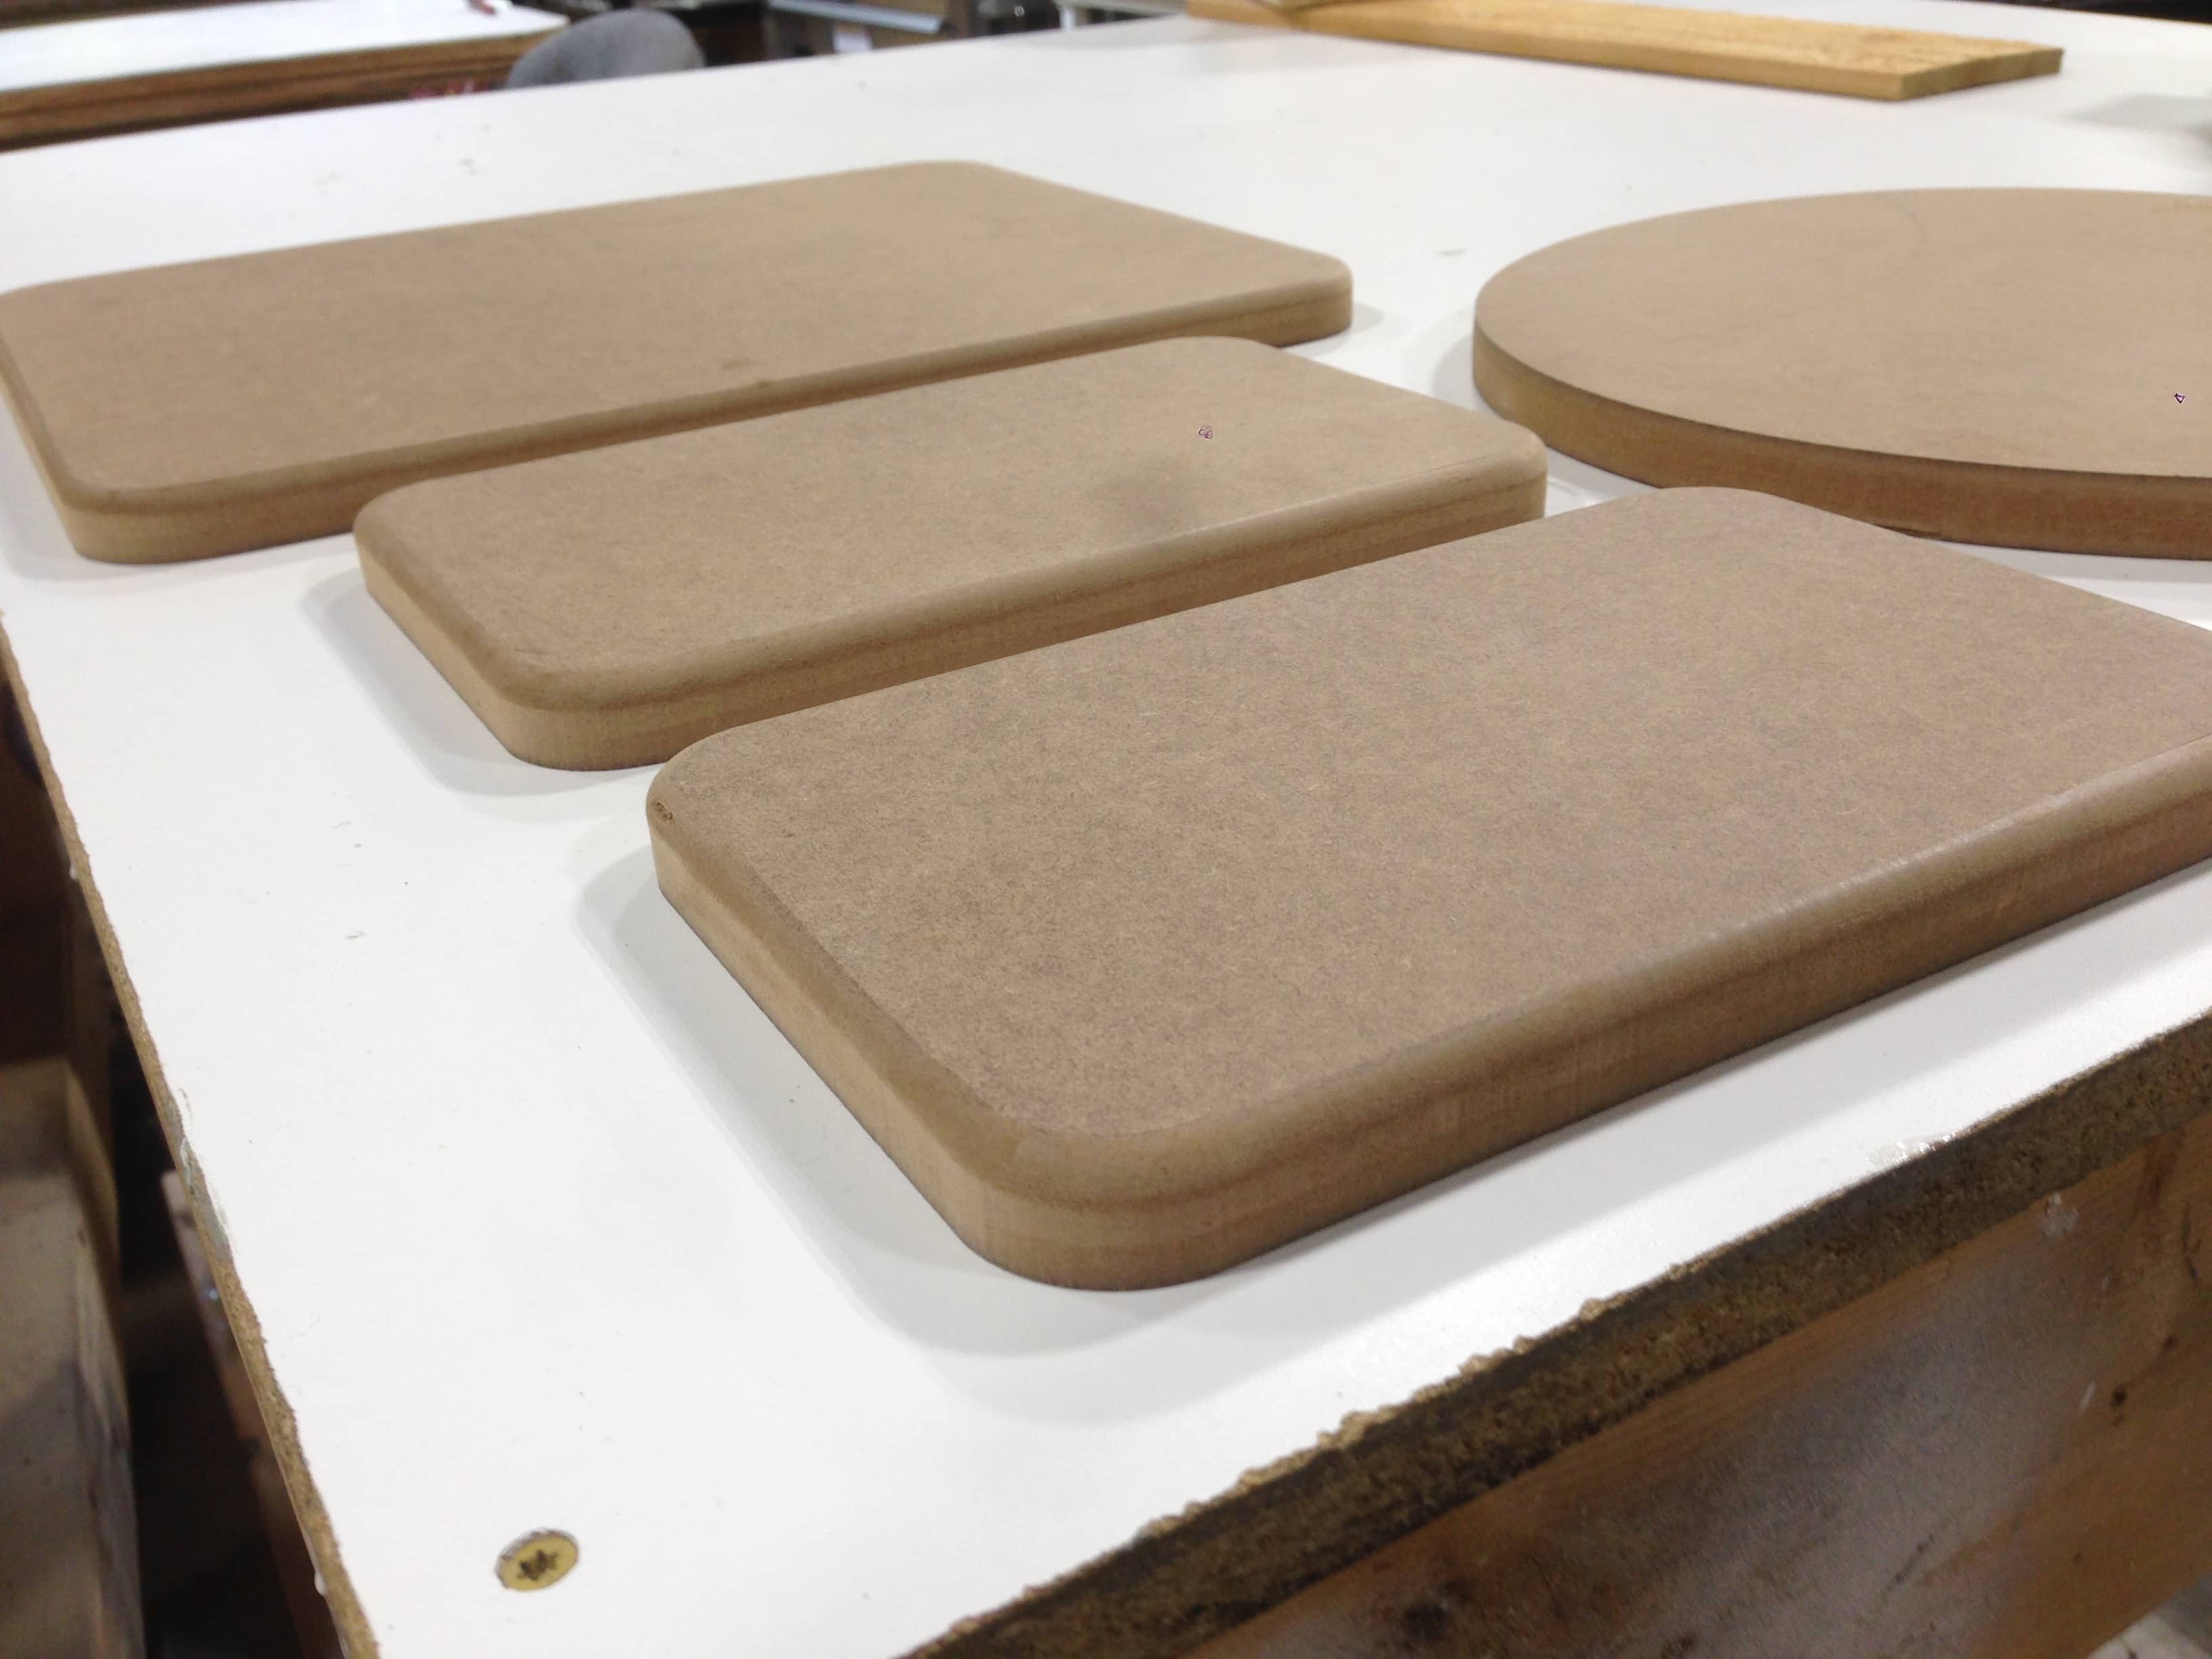
You cut your MDF on a cnc router like an X-Carve for this size, or a Shopbot (at your local makerspace). Or you can print, or laser cut a template and do it the old fashioned way. But the very best use of these tools, is to have them drill your holes for you. No more evenings spent drilling by hand!

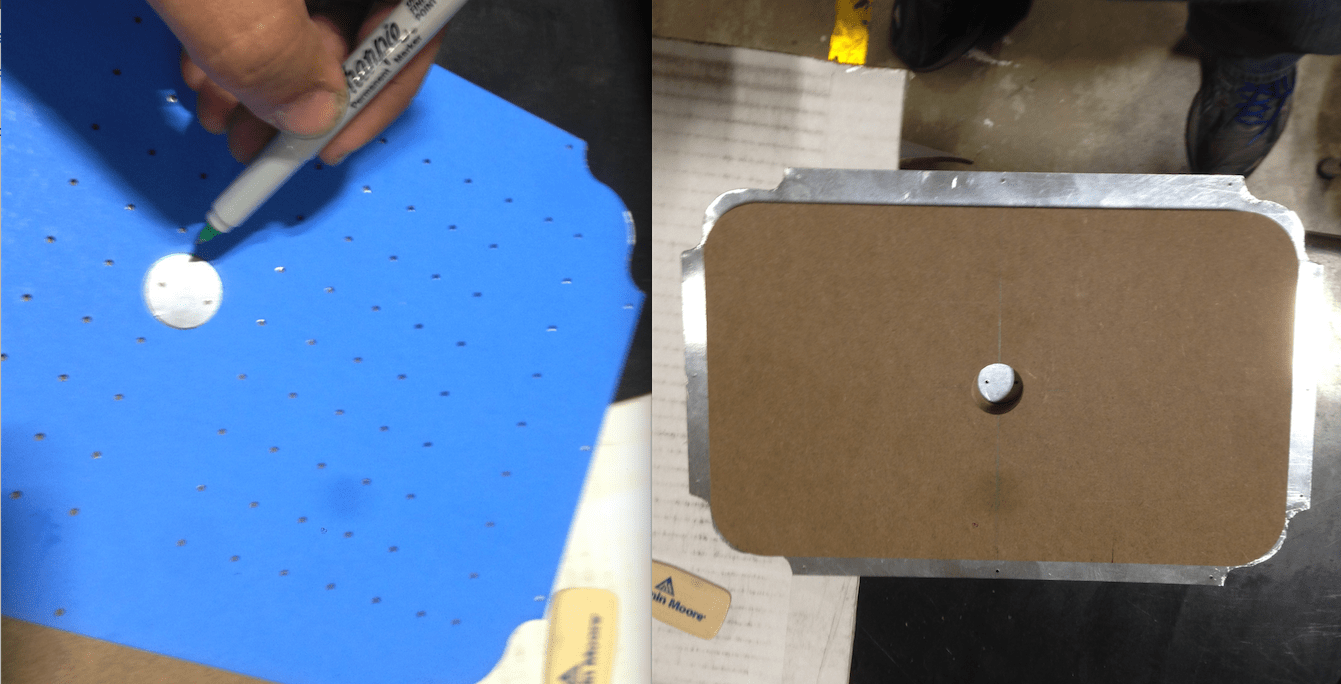
and the cardboard templates let you mark holes for alignment when you are bending and cutting metal.
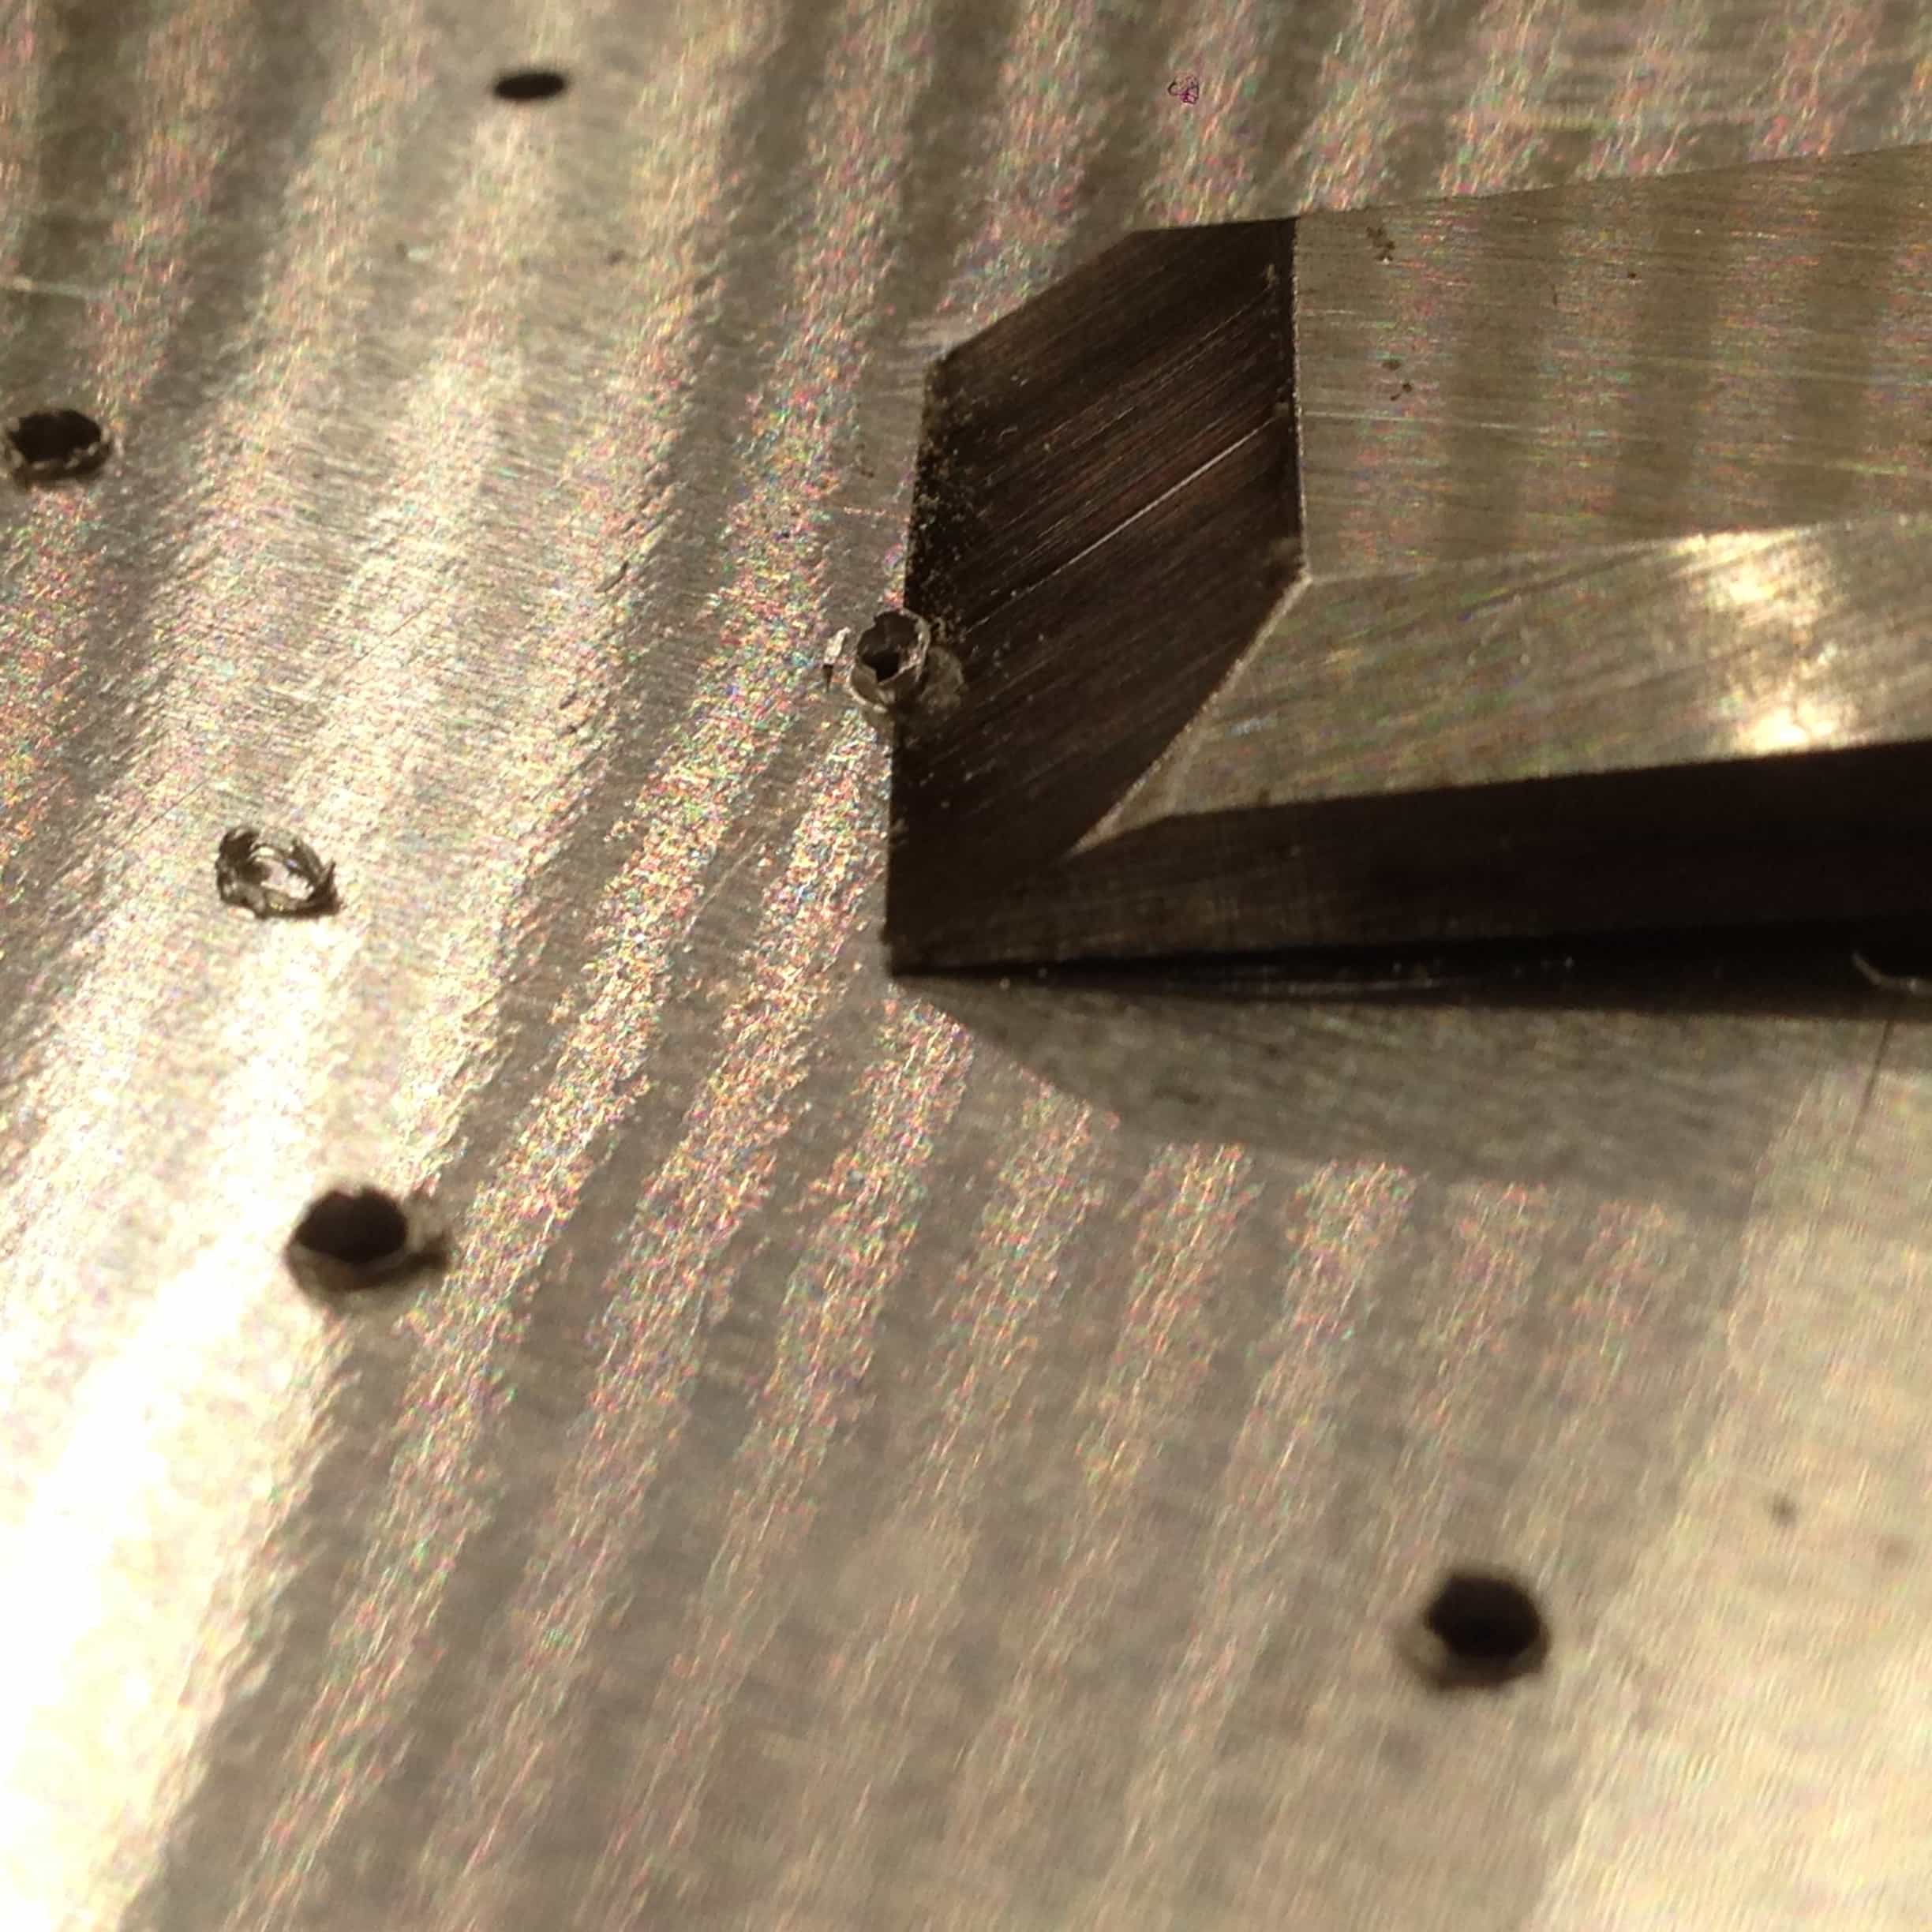
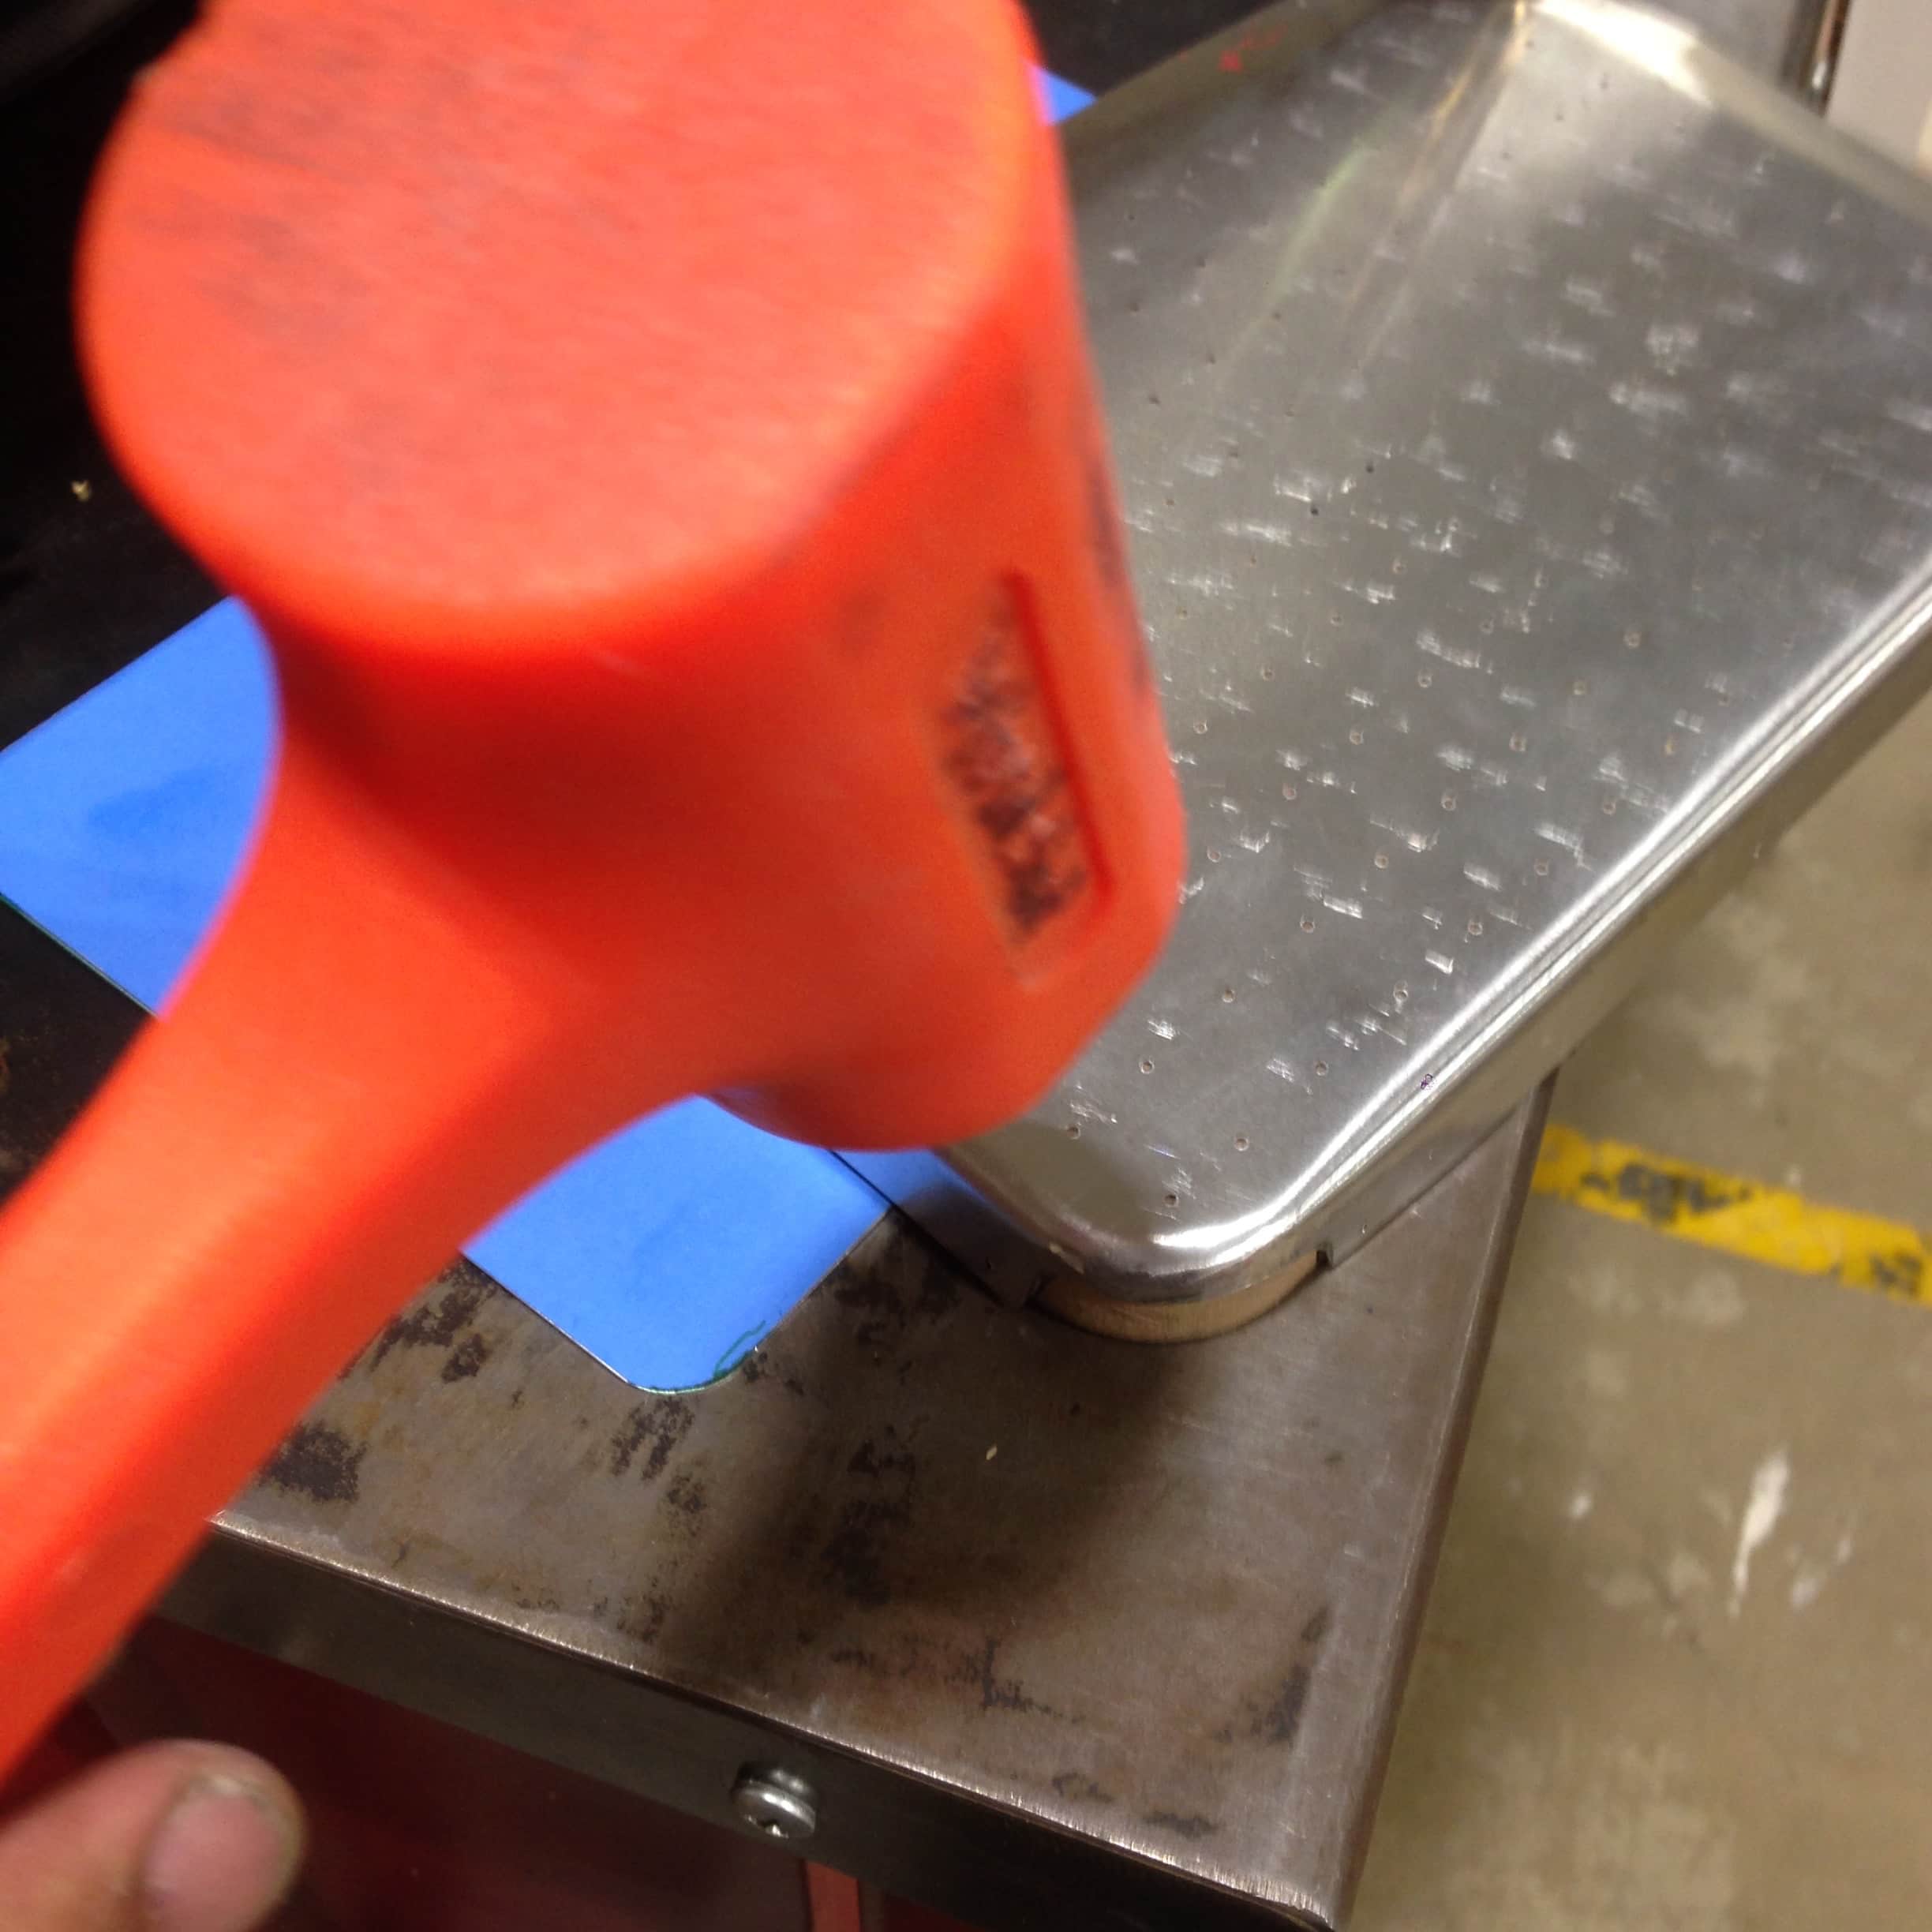
A nice trick I learned is that with a sharp steel (new) chisel you can scrape the burrs off instead of having to use a 1/4″ drill bit. Way faster!
Using the cardboard templates you cut out on the laser cutter, you can accurately draw alignment marks so there’s no guess work.
The rest is pretty standard.
Once you follow the normal instructions from the Proto-form plans, you can convert your larger sized platen to a more manageable sized one.